Configuring QQ Scan Code Login
# Overview
This section describes the configuration process for the QQ scan code login feature. After configuring the integration of the QQ authentication source on the IDaaS platform, refer to this module to configure QQ scan code authentication login for various application systems.
# Prerequisites
- Have administrator privileges for the IDaaS Enterprise Center platform.
- Have already created a website application in the QQ Connect Management Center.
- The application has been integrated on the IDaaS platform.
- Have already configured a QQ authentication source on the IDaaS platform with the login scenario set to PC Browser Scan Code Login.
# Configuration Process

# Procedure
# Configuring QQ Scan Code Authentication for an Application
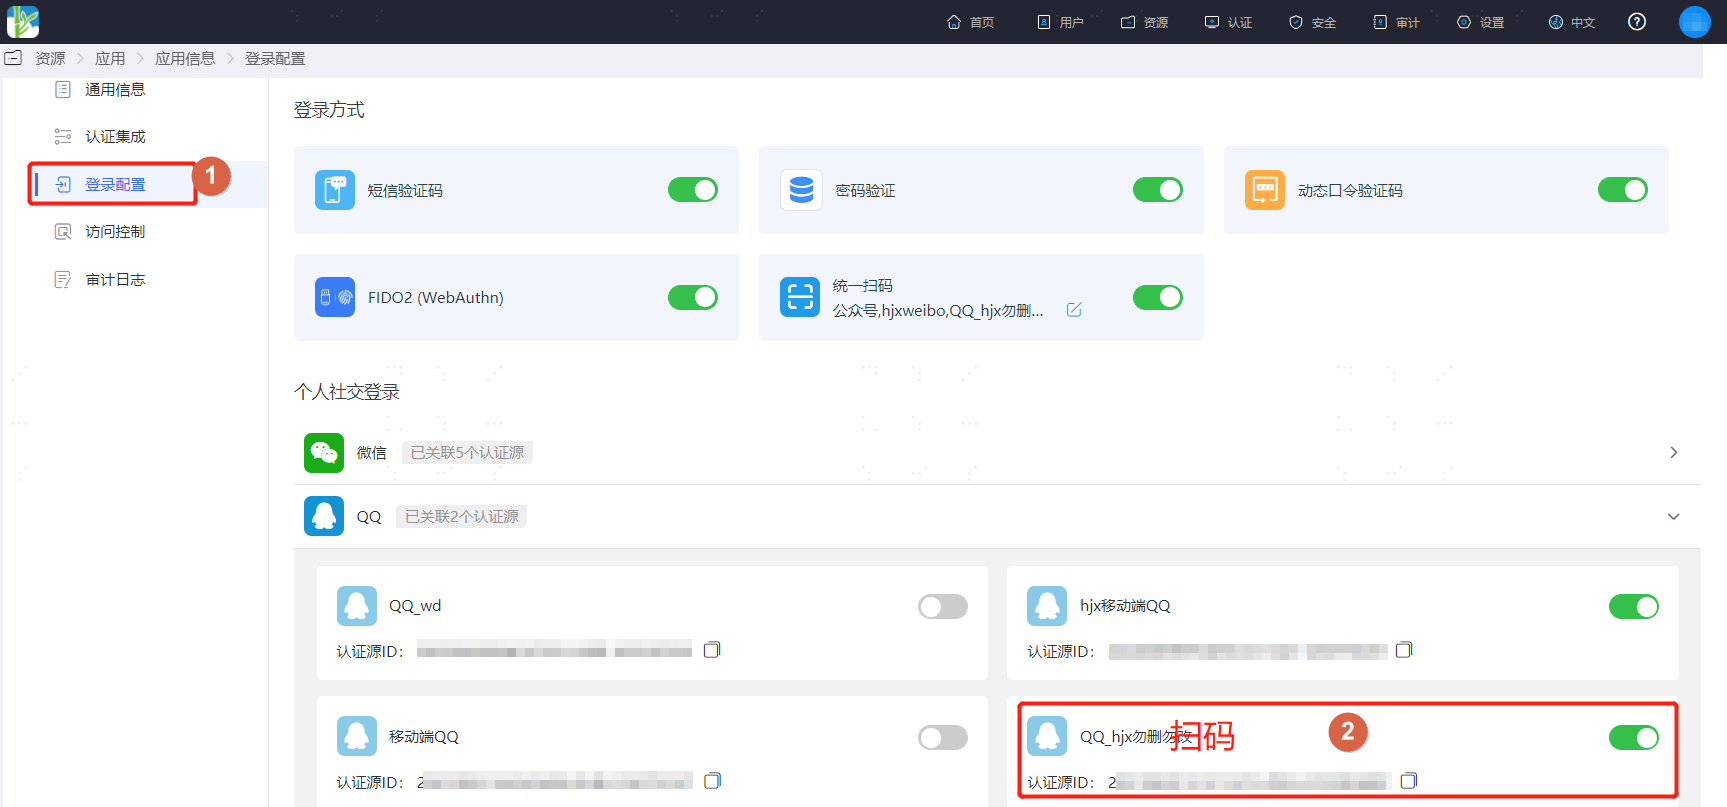
Log in to the IDaaS Enterprise Center platform. In the top navigation bar, select "Resources > Applications". Taking the User Center application as an example, select "User Center", switch to the "Login Configuration" tab, scroll down to QQ, and enable the previously added QQ authentication source with the login scenario set to PC Browser Scan Code Login.
# Verifying QQ Scan Code Login
The actual process of QQ authentication login is related to the "When user is not associated" option in Configuring QQ Authentication Source. Please refer to the on-screen prompts to log in.
Access the User Center. On the application system login page, select QQ Login.
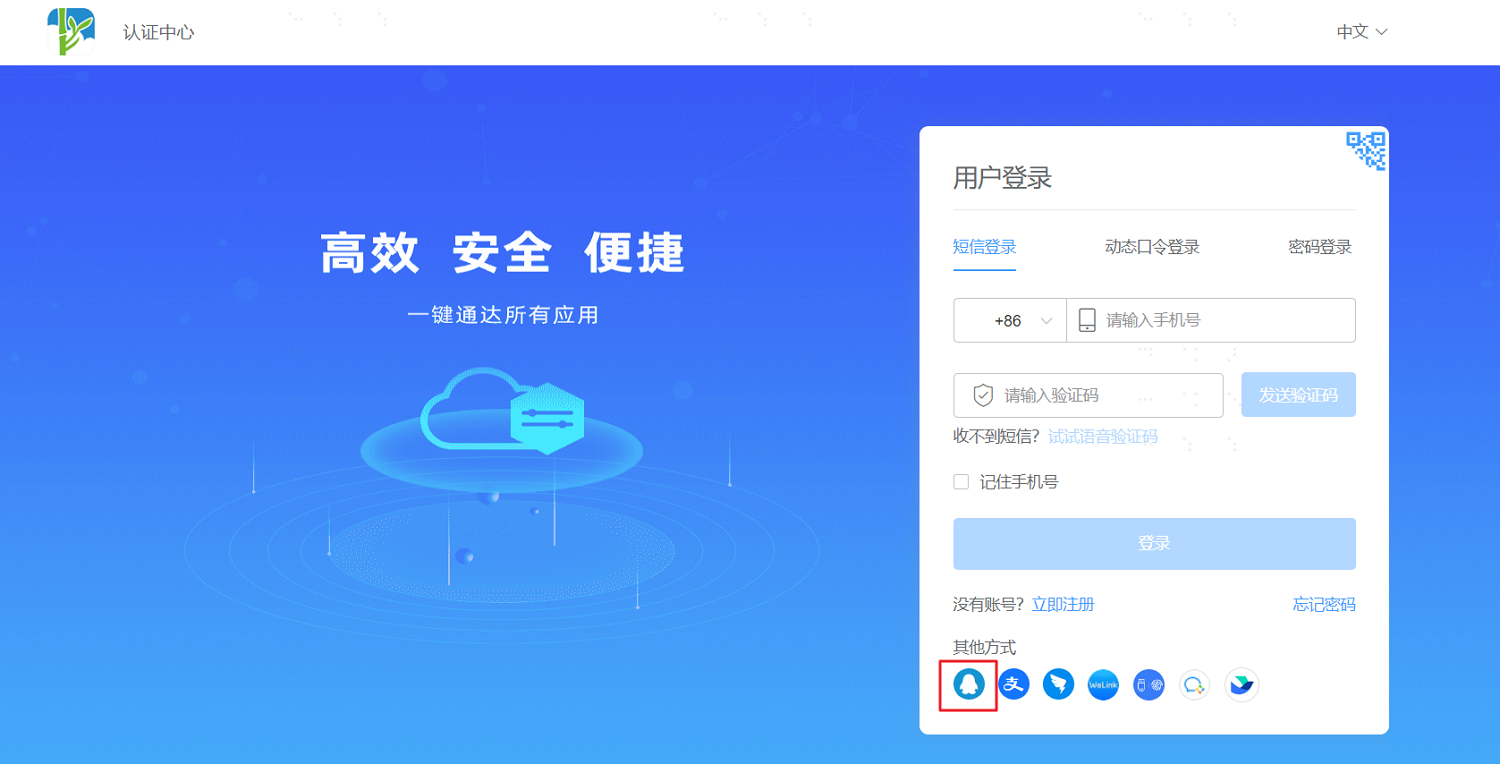
Use QQ to scan the QR code on the page to log in to the application system. If it is the user's first time logging into the application system, they will either directly bind a mobile phone number or email address based on the authentication source configuration; or register a new user via mobile phone number or email.