Configuring DingTalk Message Notifications and Templates
# Overview
In processes such as "Login Authentication", "Forgot Password", "Reset Password", "VPN Two-Factor Authentication", verification codes may be used to confirm the user's identity to prevent impersonation or identity theft. At the same time, in risk scenarios such as "Login from a Different Location" or "Multiple Password Failures", you can also send and receive corresponding messages to promptly alert users of potential risks.
In addition to common methods like SMS verification codes, email verification, or voice verification codes, you can also choose to use the "DingTalk Gateway" to send and receive verification codes.
# Prerequisites
- Have administrator privileges for the IDaaS Enterprise Center platform.
- Have administrator privileges for the DingTalk Open Platform.
- The enterprise has already configured a DingTalk authentication source, and the application information configured below must be consistent with the information in the DingTalk authentication source already bound to the application. Also, ensure that IDaaS users have been synchronized and bound with DingTalk users.
# Configuration Process

# Steps
# DingTalk Open Platform Configuration
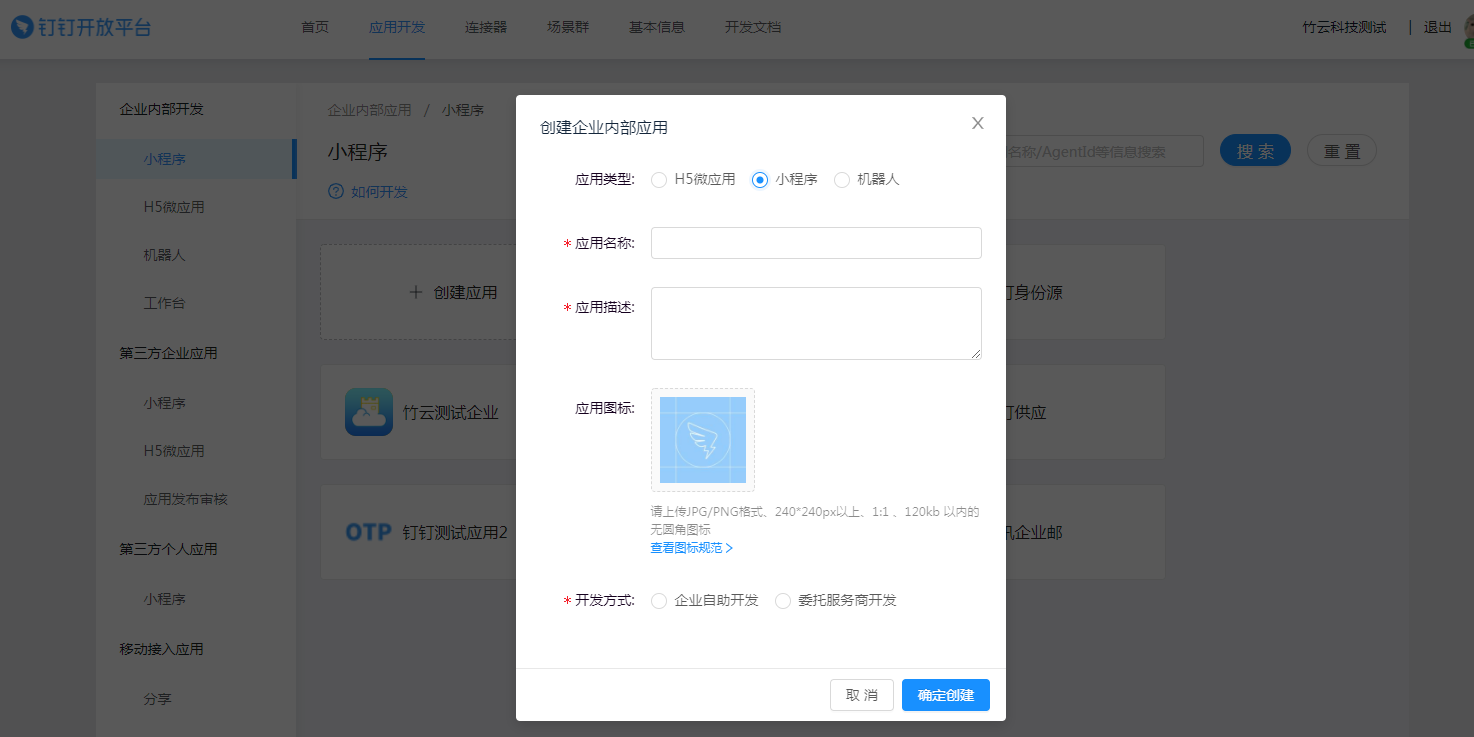
Log in to the DingTalk Open Platform (opens new window), select "Application Development > Internal Enterprise Development > Mini Program (or H5 Micro Application)", and create an application.
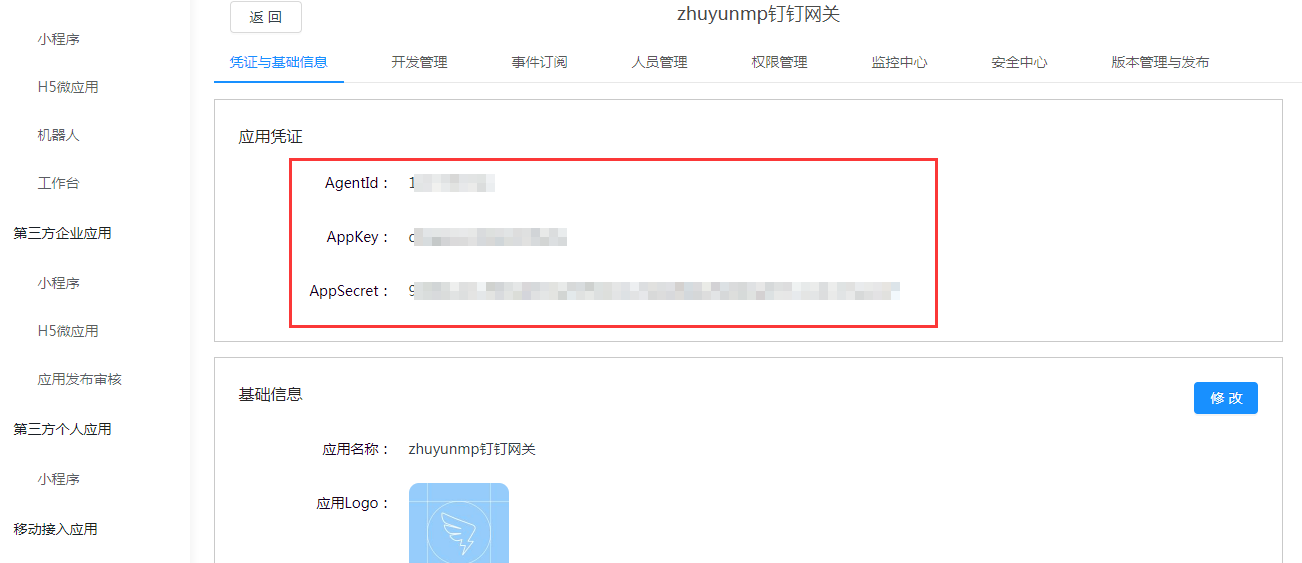
Click to enter the created mini program application, select "Credentials & Basic Info", and obtain the AgentId, AppKey, and AppSecret.
Select "Development Management", edit the Server Outgoing IP to the IDaaS tenant domain name. Please contact technical support personnel to obtain this.
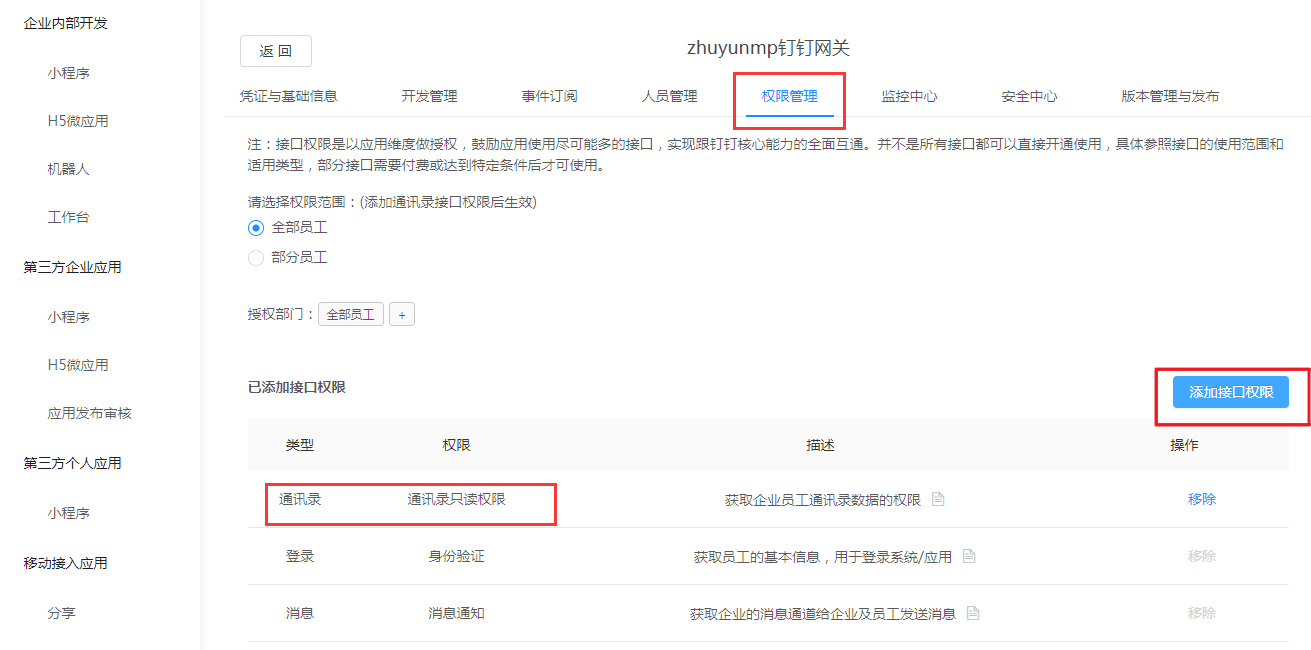
Select "Permission Management" to add interface permissions, and add read-only permissions for the address book.
# IDaaS Platform Configuration
Log in to the IDaaS Enterprise Center platform, select "Settings > Enterprise Configuration" from the top navigation bar, and choose "DingTalk Gateway Configuration".

Enable the DingTalk Gateway, fill in the basic configuration and save it. Enter the relevant credential information obtained from the DingTalk application.
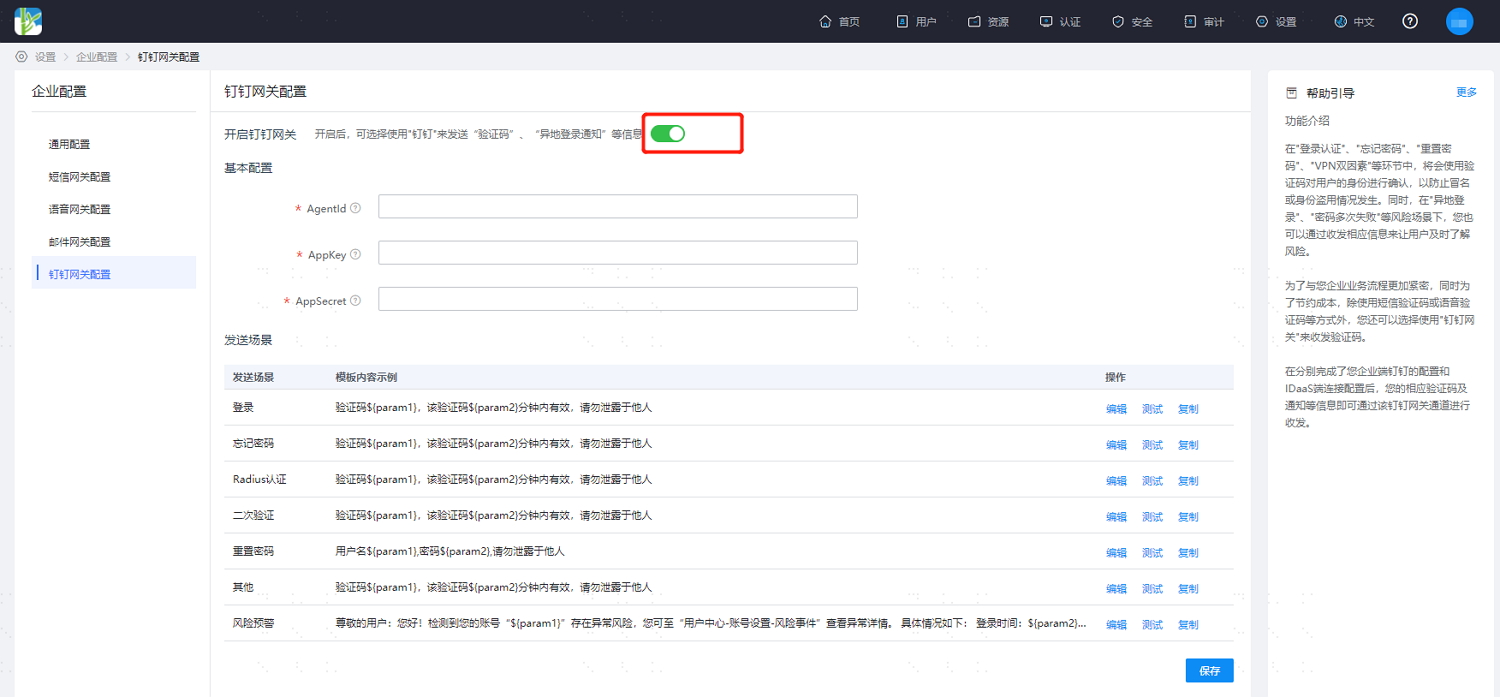
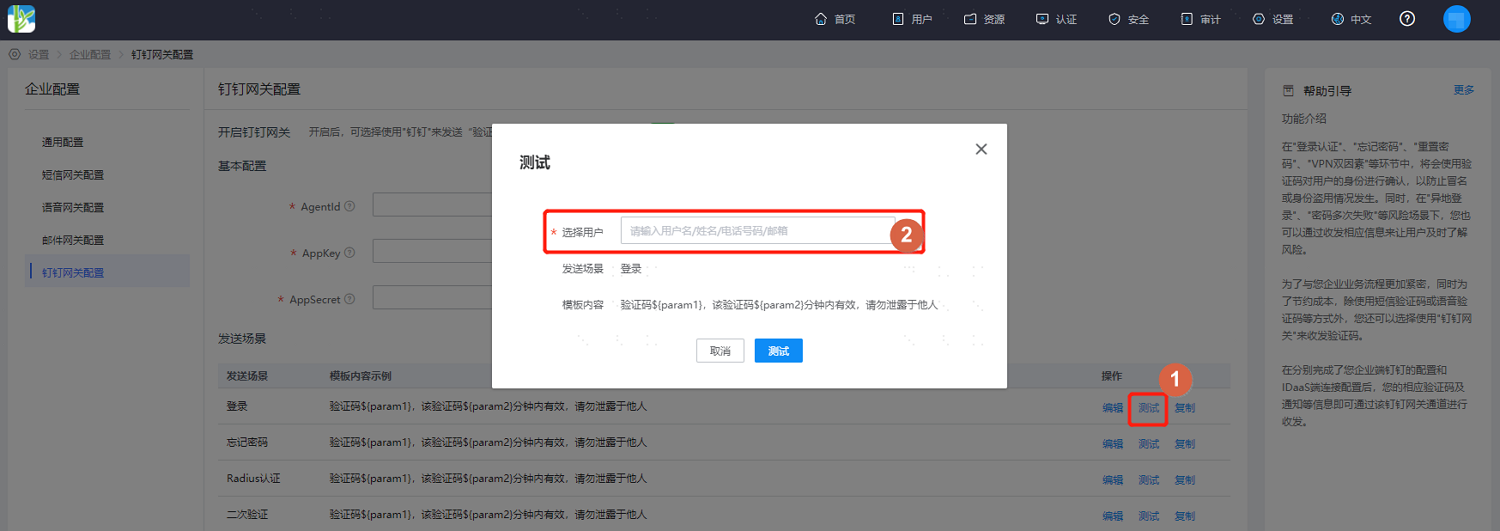
After completing the basic configuration, configure the DingTalk notification templates for sending scenarios according to the actual project requirements, referring to the interface.
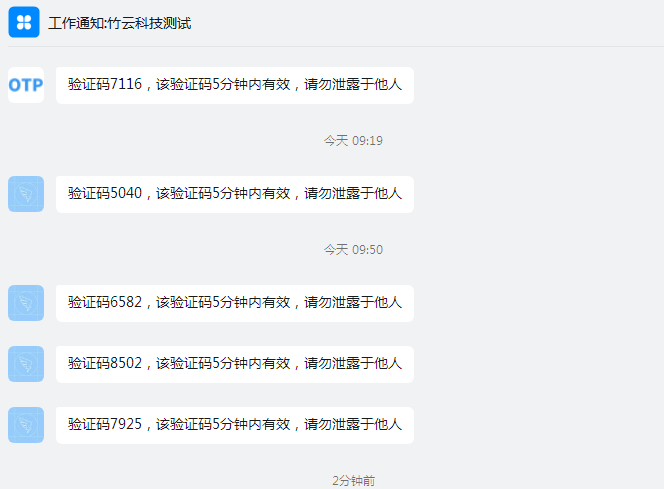
After configuration, click "Test", select a test user. This user will then receive the verification code in DingTalk.