WeLink Data Synchronization
# Description
This article explains how to synchronize organization and personnel data from IDaaS to Welink, enabling data flow from IDaaS to Welink.
# Synchronization Configuration
# Welink Configuration
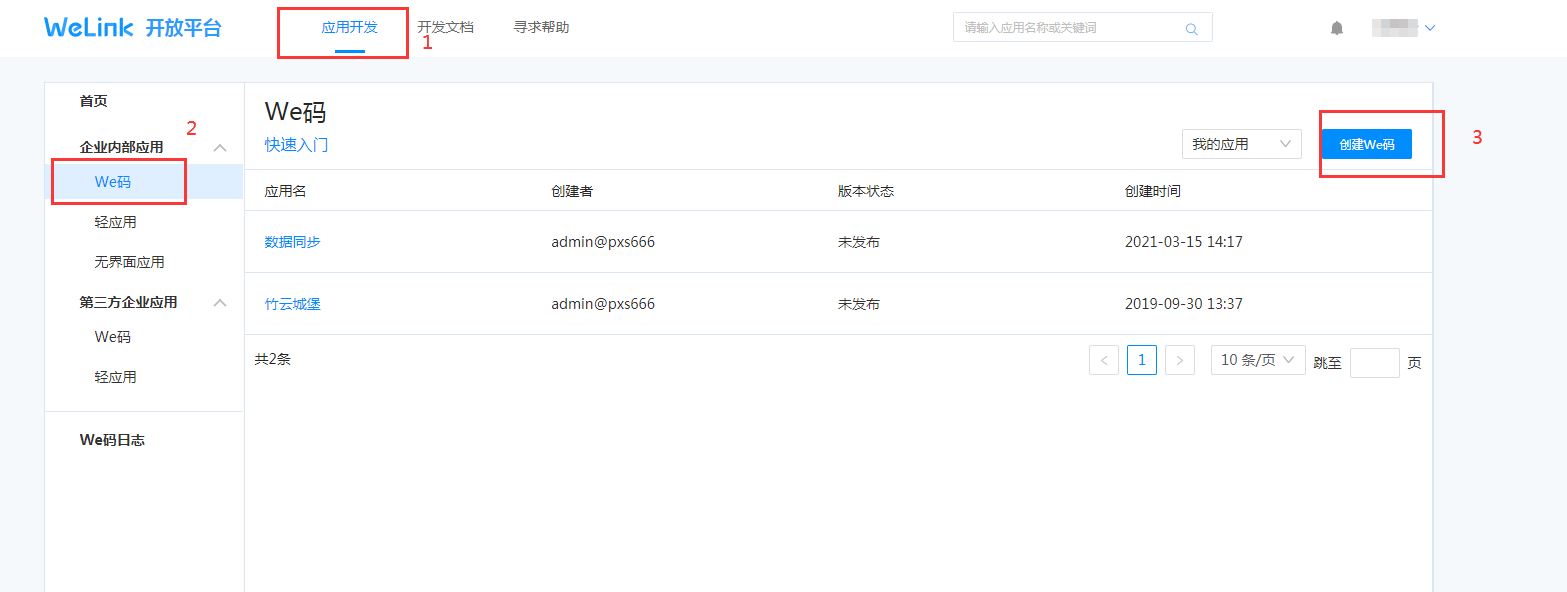
Log in to the Welink Developer Console (opens new window).

Create an internal enterprise application.
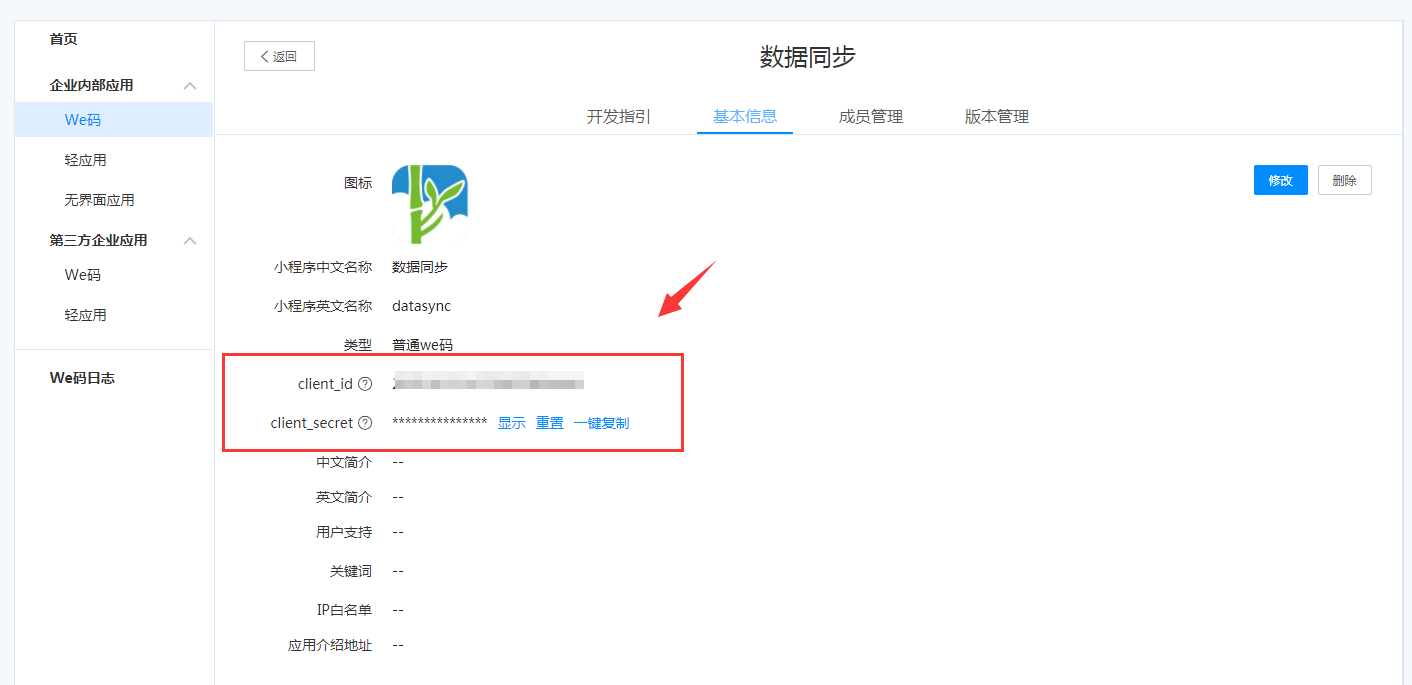
Obtain the application's client_id and client_secret.
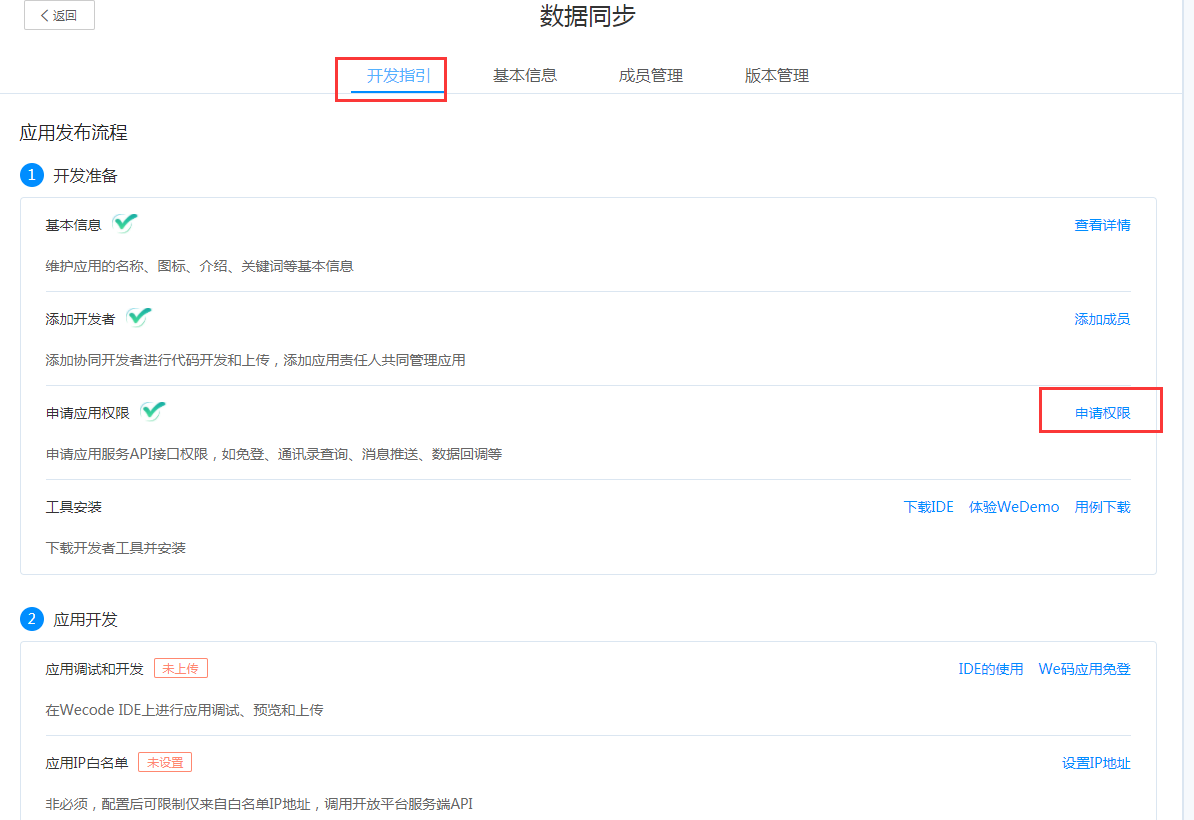
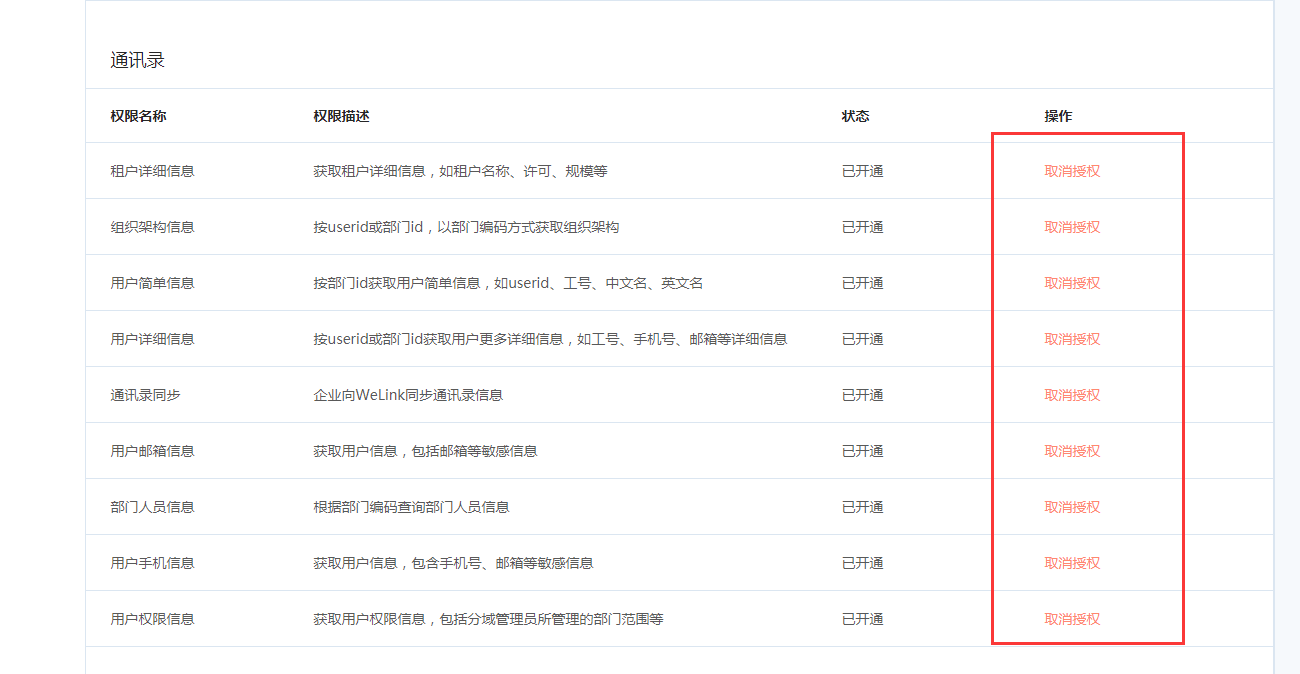
Apply for the application's address book interface permissions.
# IDaaS Configuration
Log in to the IDaaS Enterprise Center.
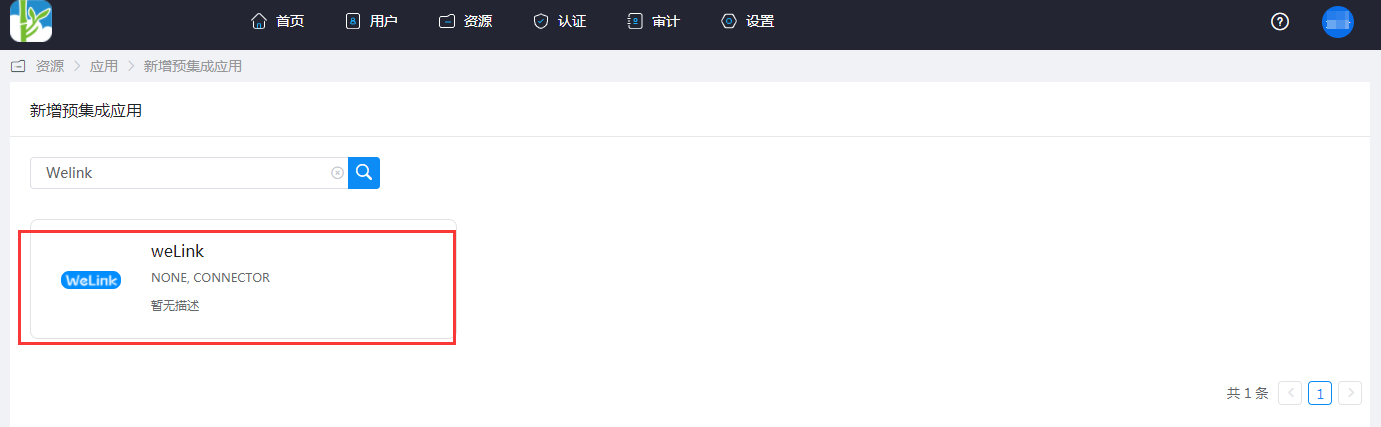
Add the pre-integrated application Welink.
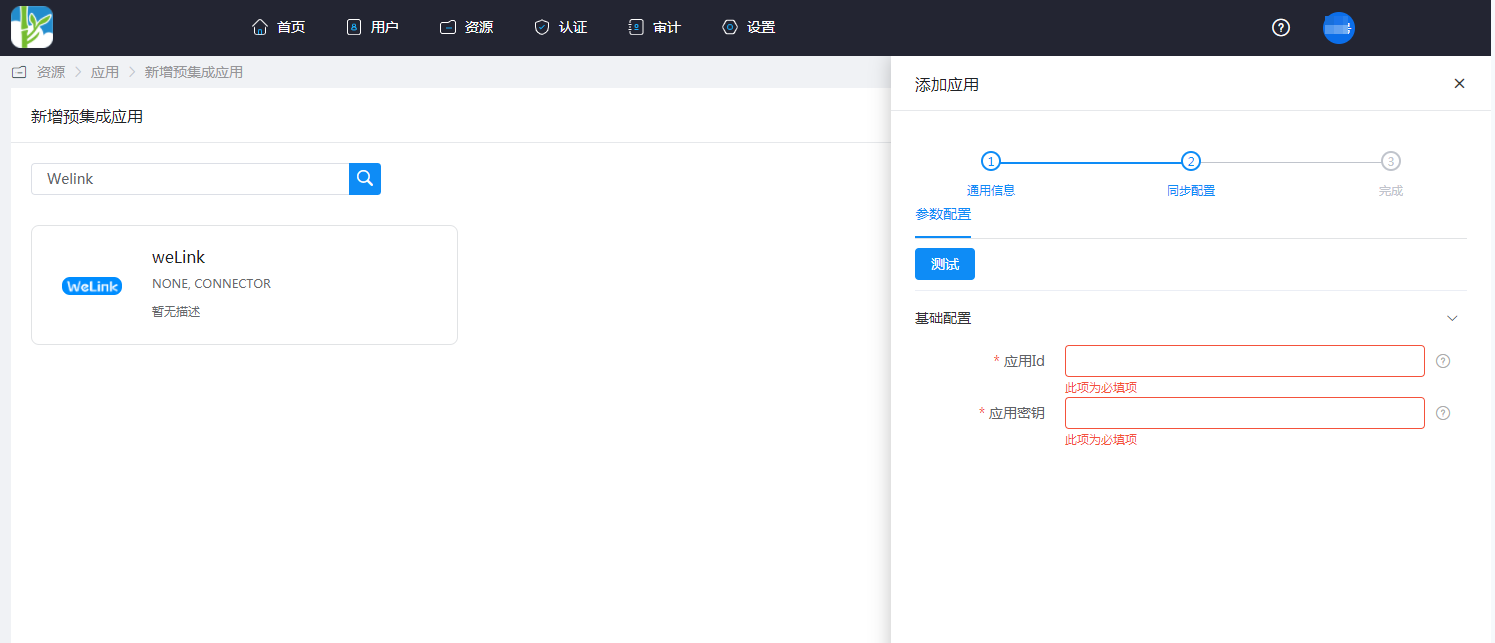
Configure application parameters.
- Application ID: client_id
- Application Secret: client_secret
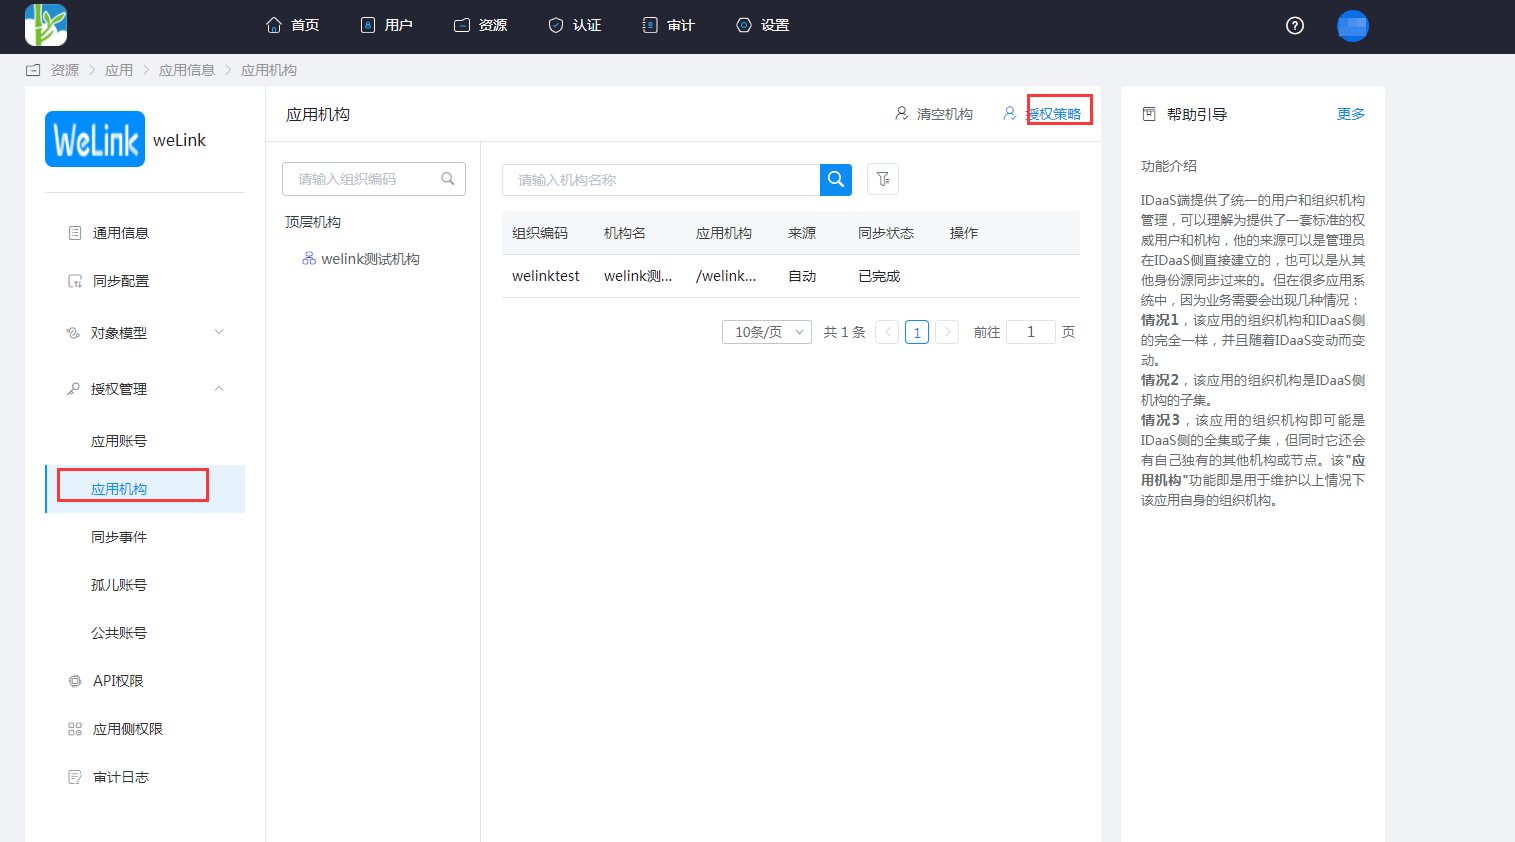
Go to Application Details -> Application Organization -> Authorization Policy, enable automatic organization authorization, select the organization scope, click the Save button, and then click Execute Addition.

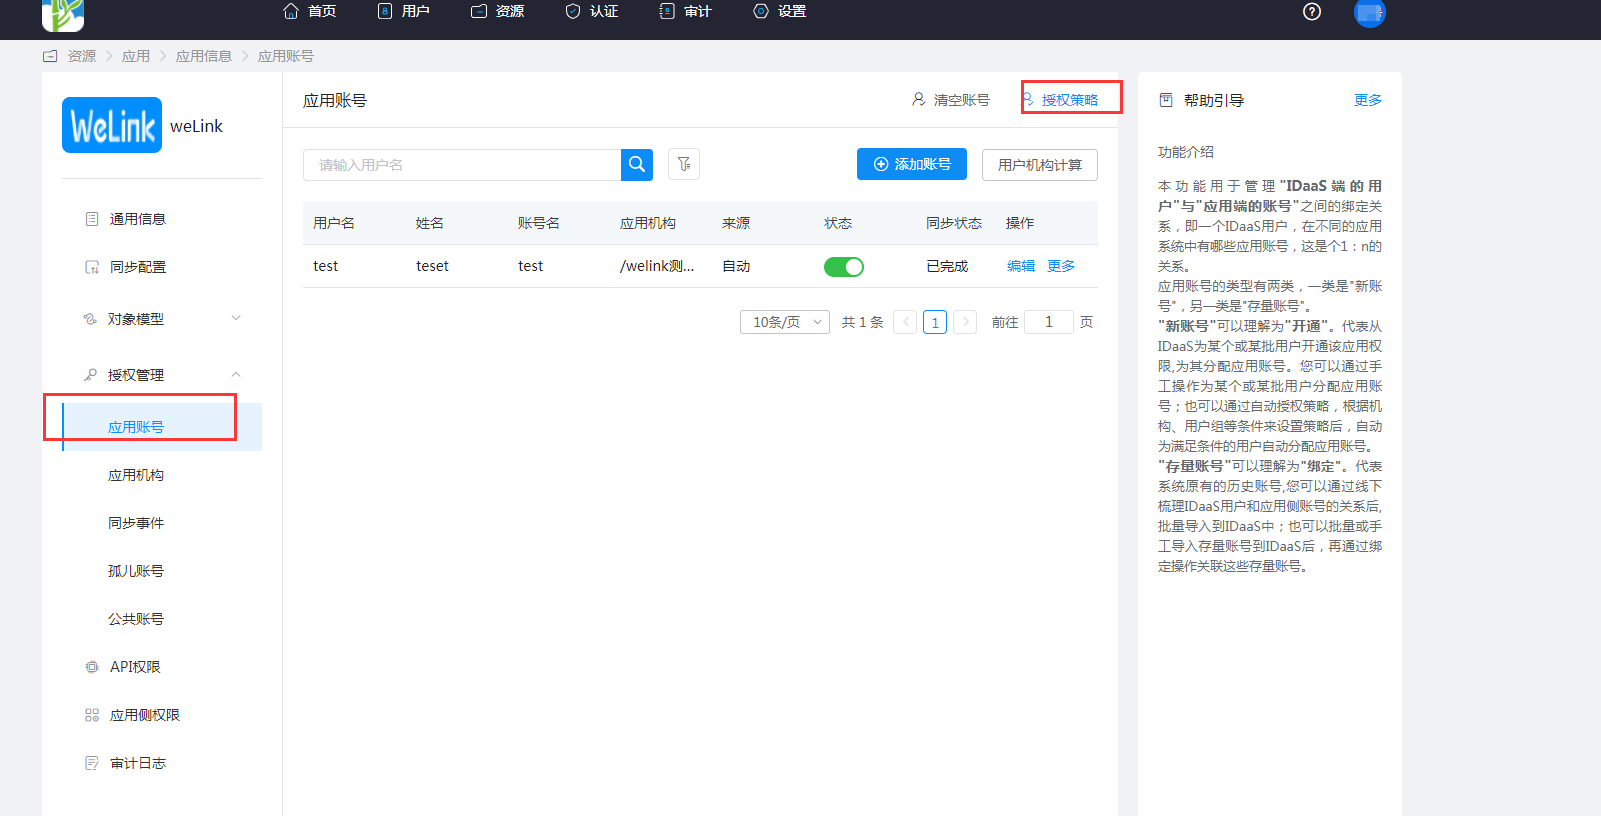
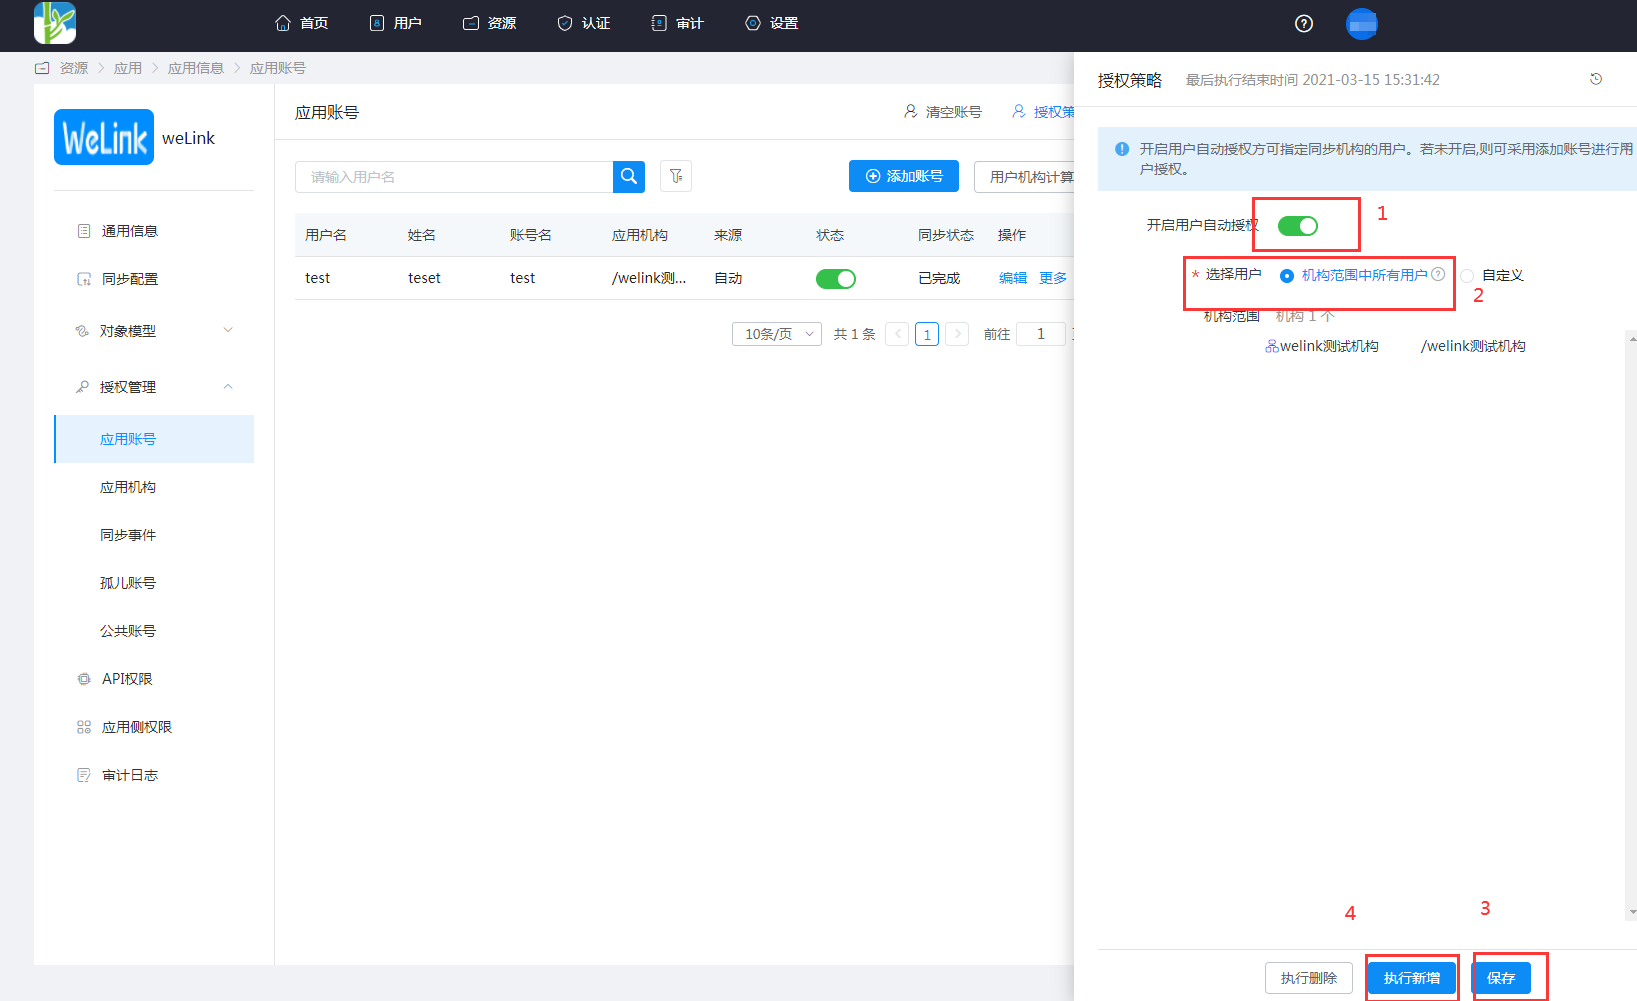
Go to Application Details -> Application Account -> Authorization Policy, enable automatic user authorization, select the user scope, click the Save button, and then click Execute Addition.
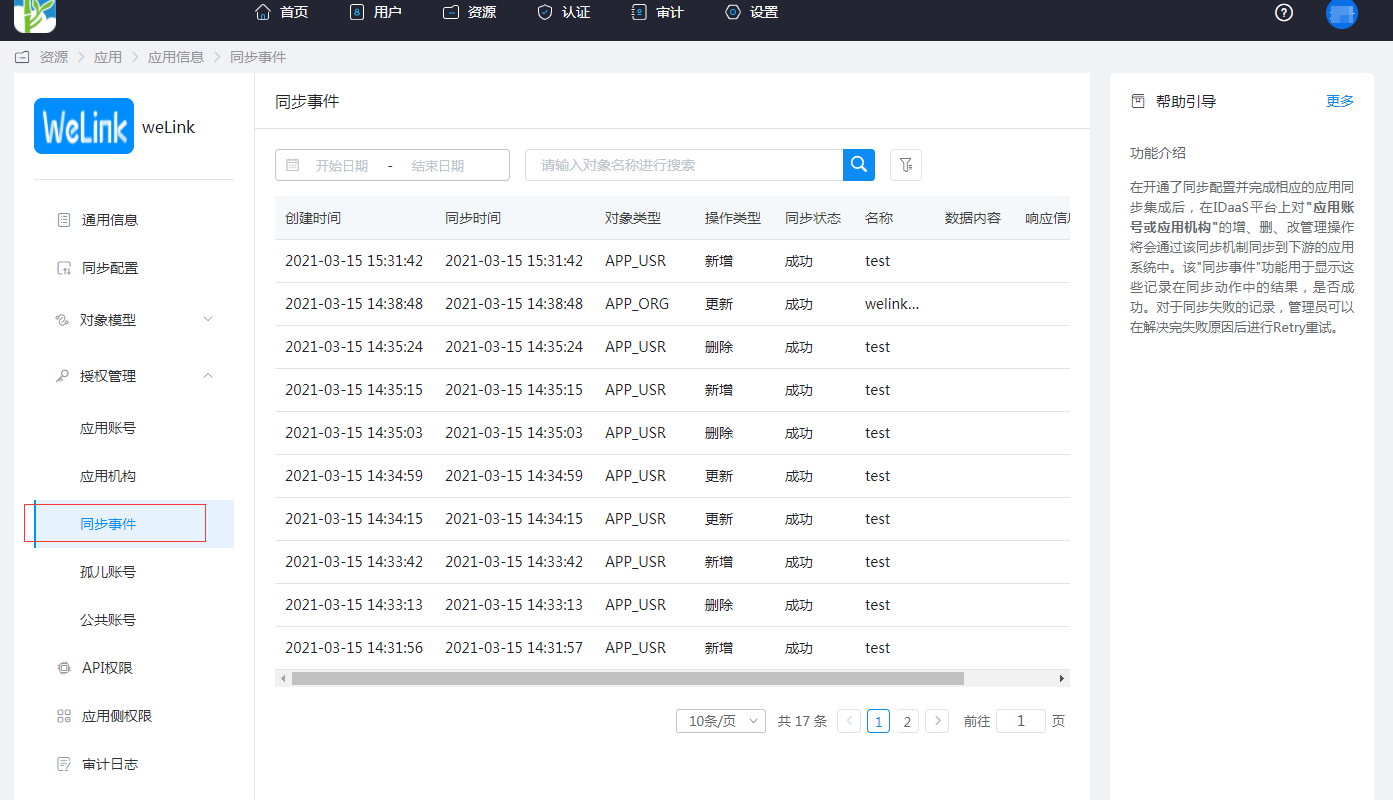
Go to Application Details -> Synchronization Events to view the synchronization events.
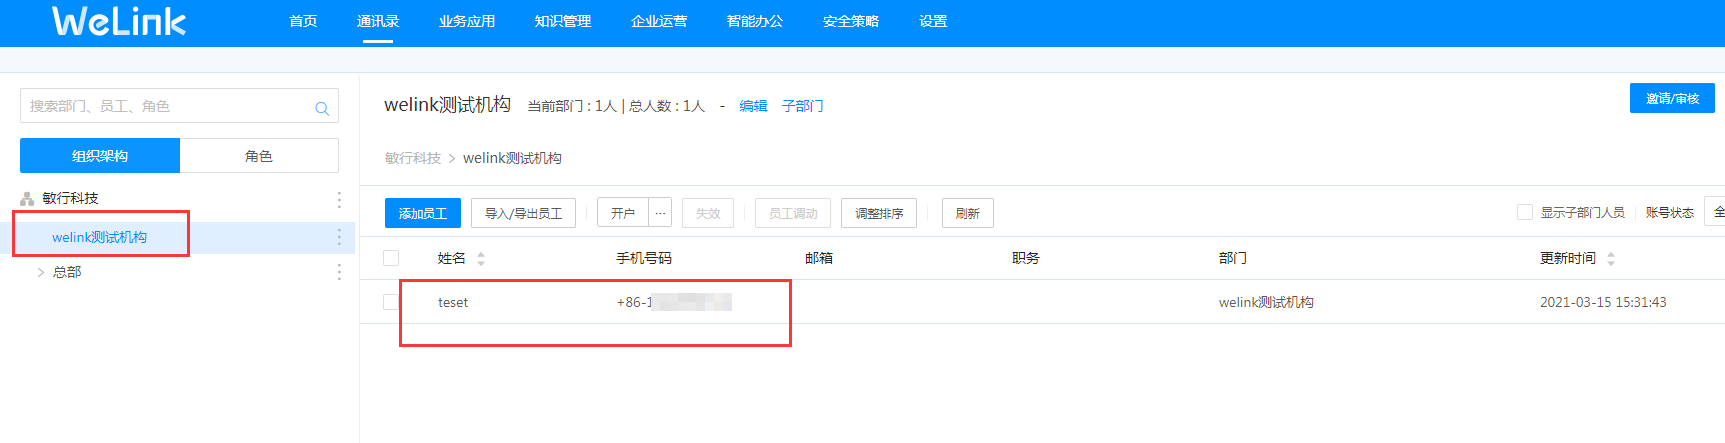
# View Synchronization Results
Log in to the Welink management console, go to the Address Book, and view the synchronized organizations and users.