Office 365 Single Sign-On
# Description
This document describes how to configure IDaaS for single sign-on to Office 365.
Office 365 is divided into the international version and the China version. There are slight differences in the configuration process. Corresponding prompts have been made in the text, please pay attention.
Reference documentation: Azure AD using SAML 2.0 Identity Provider (IdP) for single sign-on (opens new window)
# Authentication Configuration
# Office 365 Configuration
Using PowerShell, install the AAD support module Install-Module -Name MSOnline.
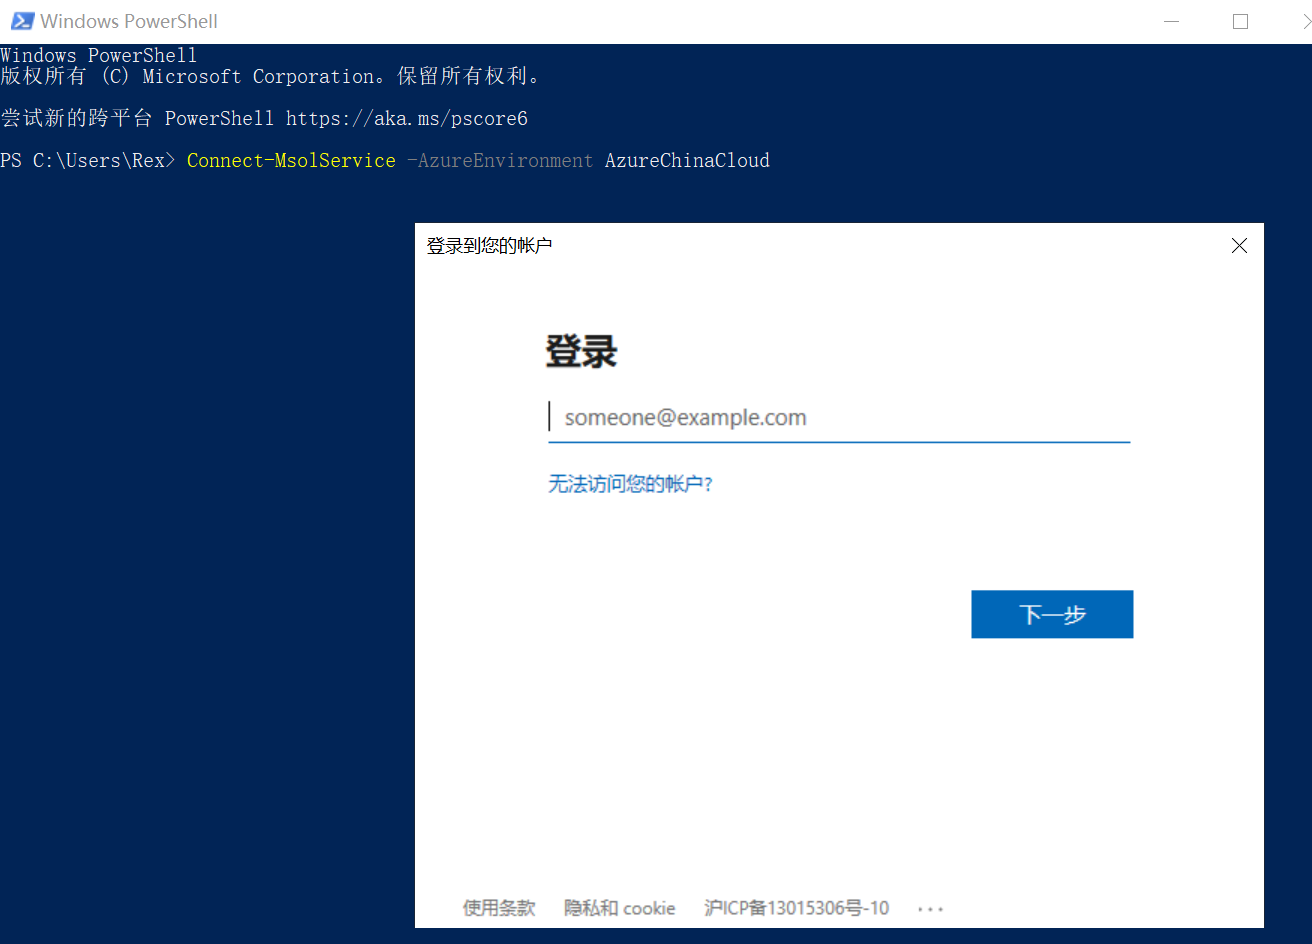
Connect-MsolService -AzureEnvironment AzureChinaCloud (For international service, change to AzureCloud)
A login window will pop up; enter the administrator username and password.
Add and verify a custom domain.
This step can also be done on the Azure AD Directory website. If a custom domain has already been added, please ignore this step.
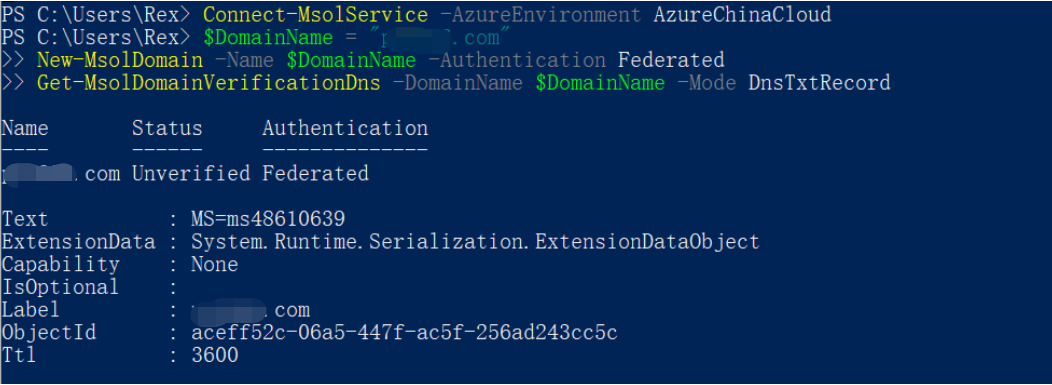
$DomainName = "****.com"
New-MsolDomain -Name $DomainName -Authentication Federated
Get-MsolDomainVerificationDns -DomainName $DomainName -Mode DnsTxtRecord
1
2
3Set the custom domain as a federated domain.
Currently, the primary domain of Azure AD Directory cannot be set as a SAML authentication federated domain. Please use a non-primary domain for configuration.
$dom = "****.com"
$LogOffUrl = "https://xxx.bccastle.com/api/ams/saml/idp/logout"
$MyURI = "https://xxx.bccastle.com/api/ams/saml/idp/SSO/alias/20190901104801839-CCBF-992AE0B6B"
$MySigningCert = "MIICrzCCAZcCBgFs6rjpsTANBgkqhkiG9w0BAQsFADAbMRkwFwYDVQQDDBBiMmUuYmNjYXN0bGUu Y29tMB4XDTE5MDkwMTAyNDYyMloXDTI5MDkwMTAyNDgwMlowGzEZMBcGA1UEAwwQYjJlLmJjY2Fz dGxlLmNvbTCCASIwDQYJKoZIhvcNAQEBBQADggEPADCCAQoCggEBAL6S58DymjxihIKlROY0hMtN PYtzVIbVcfOQ8UA9PrCJcs2kz9jMKMXtuZcyys/UqT0wUy5VLeG2hqjr6Ou5zKKmkDmwc+fT0lqY 2lFO1KKKNG1WmT1U3H7nAB12DAk0Jfk9PXz7TLF4dEGRJzgxNmfVx2v7BXEzAXn4rcfHNC1lgL7D yW5JoZxUsiKZclnxlgk6EB51Pkd5mWrlXx2bHTJoTan3FqpmYPqUXg5QqI6hqlyoNu3fHQC7AruU SdQhCbBXI6FQD9pRTqROo+NS6arhvhh+VVbCqhTjzm6q0QSQaglznNLD8PFsUULFZdLiDE0Q3PE4 RVJ+oK0HONFezdUCAwEAATANBgkqhkiG9w0BAQsFAAOCAQEAaxwfqQAvKTCCnTAjOR1RiNM2L9lz nPoO8KobiVCEM7hFMqly6iWleUv+CnG25qXETPTmnoA1M/WF83OUaVutb6Ln6ldqalKgPzqxHrsK bwwW5g/mUWjBl1PbKs+Sfsc4nUSTDlZ2zsZ1Z60MXEfCHq3EwMA5H8tHp0qLDu5zzC7+zNJKVOKN ax7lNoCP0+LlBrxlTNfZyq4PvqlbRaWjiTWKQN26FK/eX9RCPc4ggSJnI09l7e66fJoVmHMYcDl/ 0SNTWGFmaKWG8OK587eSucQTXXiYJEBt7yU70iZxa3f7sjoIJup3m3QDTrFLqSf1bjrojRo0167M bv54Rnk/MA=="
$IssuerUri = "https://xxx.bccastle.com/api/ams/saml/idp"
$Protocol = "SAMLP"
Set-MsolDomainAuthentication -DomainName $dom -FederationBrandName $dom -Authentication Federated -PassiveLogOnUri $MyURI -SigningCertificate $MySigningCert -IssuerUri $IssuerUri -LogOffUri $LogOffUrl -PreferredAuthenticationProtocol $Protocol
1
2
3
4
5
6
7
The parameter descriptions are as follows:
- dom: Custom Domain
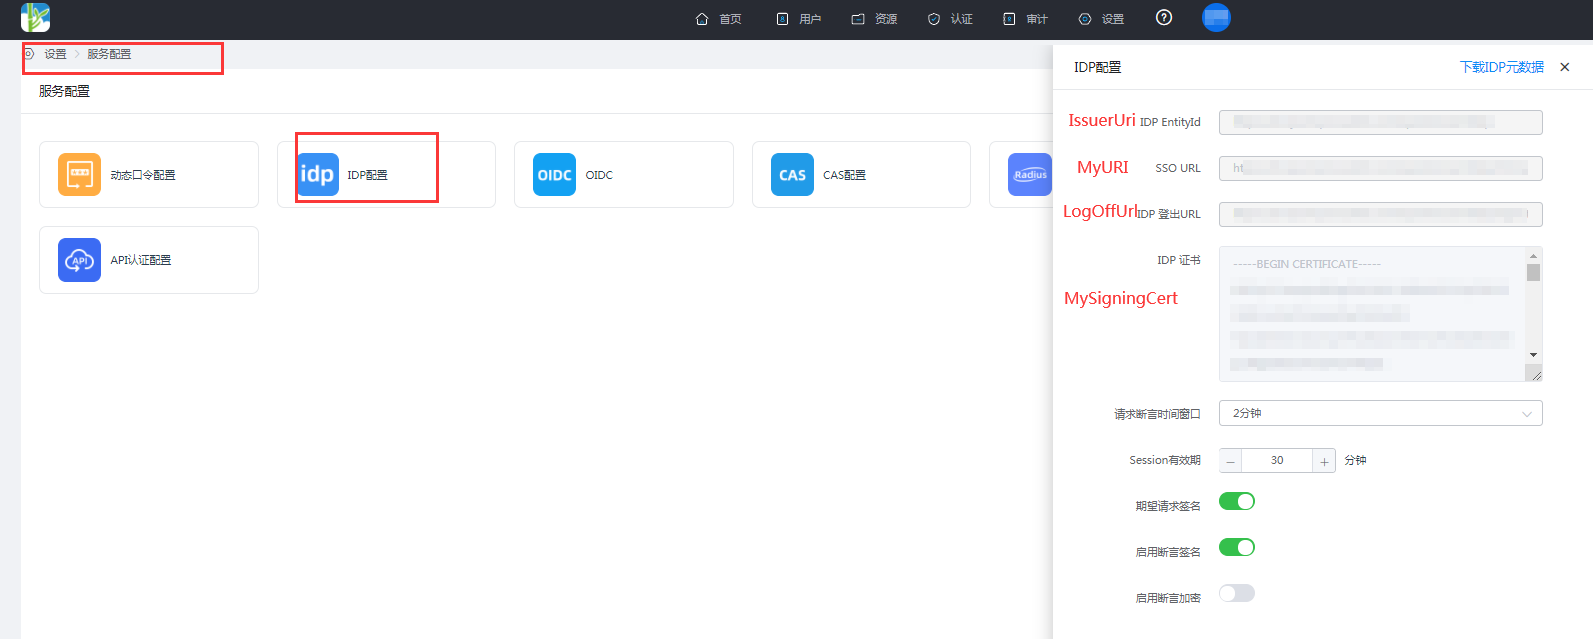
- LogOffUrl: IDaaS IDP Logout URL
- MyURI: IDaaS SSO URL
- MySigningCert: IDaaS IDP Certificate
- IssuerUri: IDaaS IDP EntityId
- Protocol: SAMLP
- IDaaS IDP Parameter Acquisition: Log in to IDaaS Enterprise Center ==> Settings ==> Service Configuration ==> View IDP Configuration.
Add a new user.
New-MsolUser -UsageLocation CN -UserPrincipalName "user1@****.com" -ImmutableId "15101122211" -FirstName "li" -LastName "song" -DisplayName "lisong"1Note: UserPrincipalName is the user's email, ImmutableId is the user's phone number. The SAML response's NameID from the IDP requires this ImmutableId attribute.
# Note: PowerShell operation commands
Revoke federation authentication configuration
Set-MsolDomainAuthentication `
  -DomainName  xxx.com
  -Authentication Managed
2
3
View federation authentication configuration
Get-MsolDomainFederationSettings -DomainName xxx.com
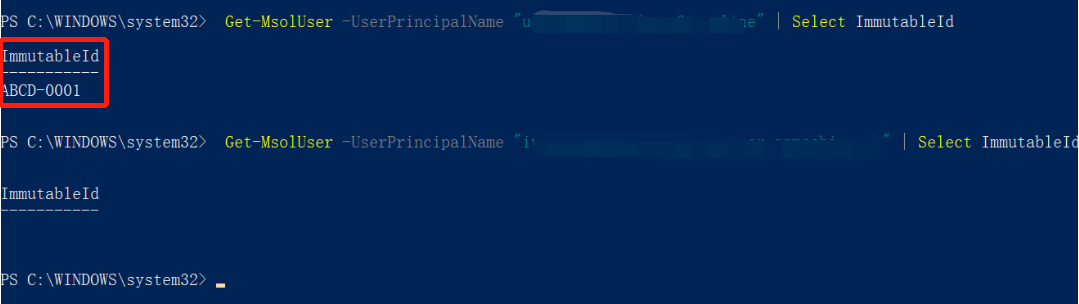
Find ImmutableId
Get-MsolUser -UserPrincipalName "user1@****.com" | Select ImmutableId
Change ImmutableId
Set-MsolUser -UserPrincipalName "user1@****.com" -ImmutableId ""
Once a user logs in via SAML federation, the ImmutableId cannot be changed.
# IDaaS Configuration
【Resources】--》【Applications】--》【Pre-integrated Applications】 Search for Office365, add the built-in Office365 application.
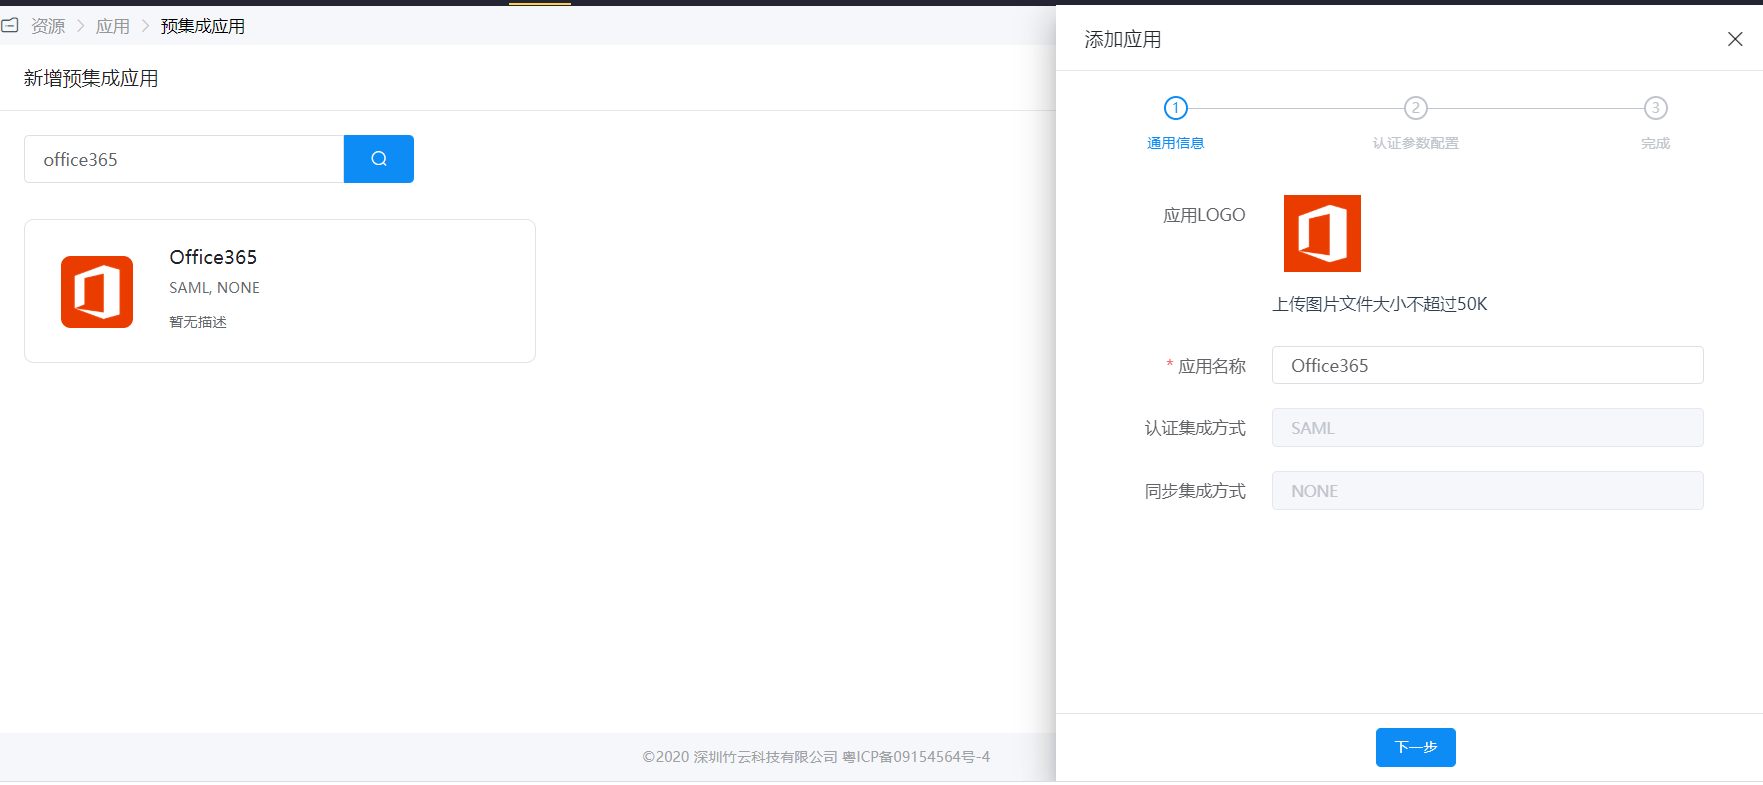
Configure authentication parameters, obtain Office365 metadata, import into IDaaS.
- International Azure AD Metadata Address (opens new window).
- Customers in China using Office 365 operated by 21Vianet should use the following federation endpoint (opens new window).
- Copy the webpage metadata content, save it as an sp.xml file.
For Name ID, select the user attribute in IDaaS where Office365's ImmutableId is stored, such as the id attribute.

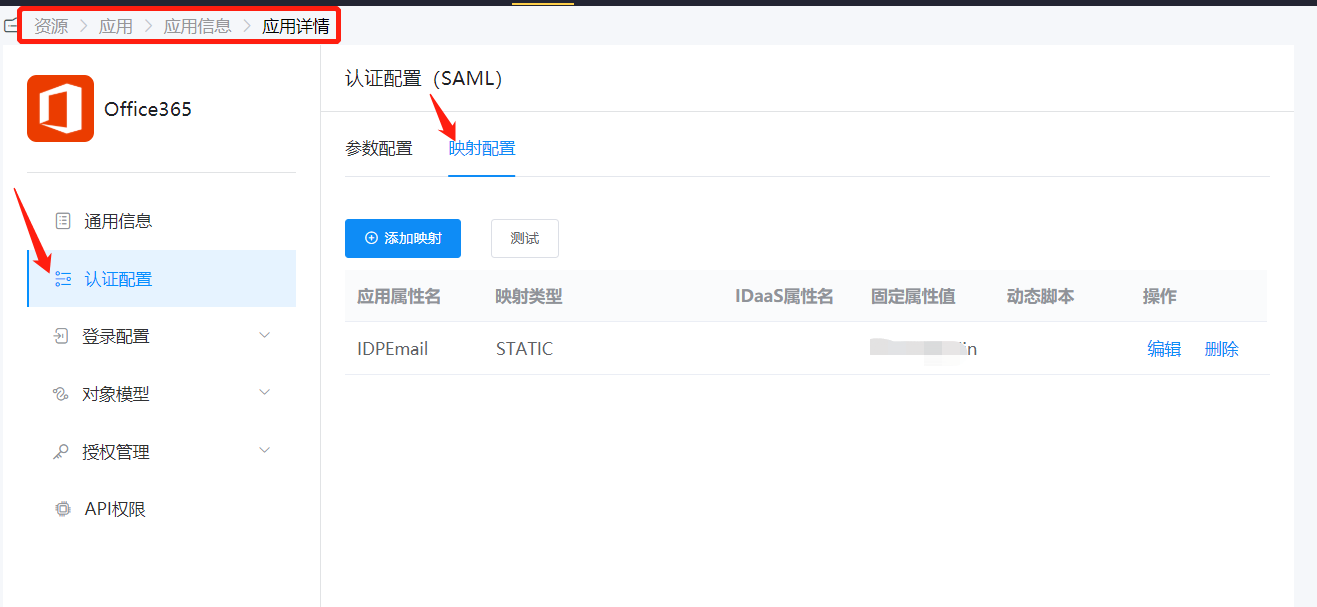
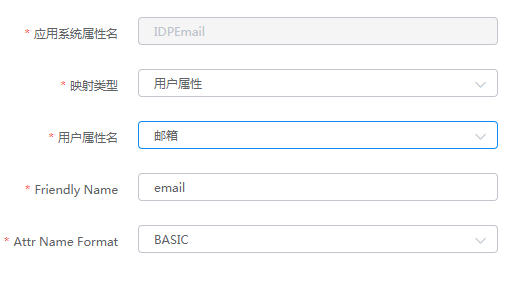
Attribute mapping, configure Office365 required attributes.

NameID and Issuer (IDP EntityID) do not need separate configuration; just add IDPEmail in the attribute mapping.
Authorize users, Authorization Management - Application Accounts - Add Account.
Ensure the authorized user's id attribute matches the ImmutableId in Office365, and the IDPEmail is the UPN in Office365.
# Login Verification
Login verification can be performed in the following two ways:
Users log in to the Office365 homepage, after entering the username, they will be automatically redirected to the IDaaS authentication interface. After successful authentication, they will enter Office365.
Log in to the IDaaS User Center, click the Office365 logo to enter Office365.