GitLab Single Sign-On
# Description
This document, based on the GitLab-ce version, introduces the configuration process for single sign-on between the GitLab system and Zhuyun IDaaS.
Docker version installation reference for GitLab (opens new window)
Official GitLab SAML configuration reference (opens new window)
# Authentication Configuration
# GitLab Configuration
Check the version number.
cat /opt/gitlab/embedded/service/gitlab-rails/VERSION1Modify the GitLab configuration file, {gitlab default installation path}/etc/gitlab/gitlab.rb

Configure the parameters as follows:
Parameter Description gitlab_rails['omniauth_enabled'] = true Allow users to register using SAML without manually creating an account: gitlab_rails['omniauth_allow_single_sign_on'] = ['saml'] Allow SAML single sign-on: gitlab_rails['omniauth_auto_link_saml_user'] = true Allow automatic linking of SAML users with existing users in GitLab: assertion_consumer_service_url Assertion Consumer Service URL, example: https://{gitlab.example.com:8880}/users/auth/saml/callback Replace content within {} with the actual address idp_cert_fingerprint Certificate fingerprint, see below for how to obtain it idp_sso_target_url IDP SSO URL, obtained in IDaaS Enterprise Center - 【Settings】- 【Service Configuration】- 【IDP Configuration】, example: https://{your-doamin}/api/v1/saml2/idp/sso issuer GitLab domain address, example: https://gitlab.example.com name_identifier_format Supported NameId format, default 'urn:oasis:names:tc:SAML:2.0:nameid-format:persistent' label SSO button label name on the GitLab login interface
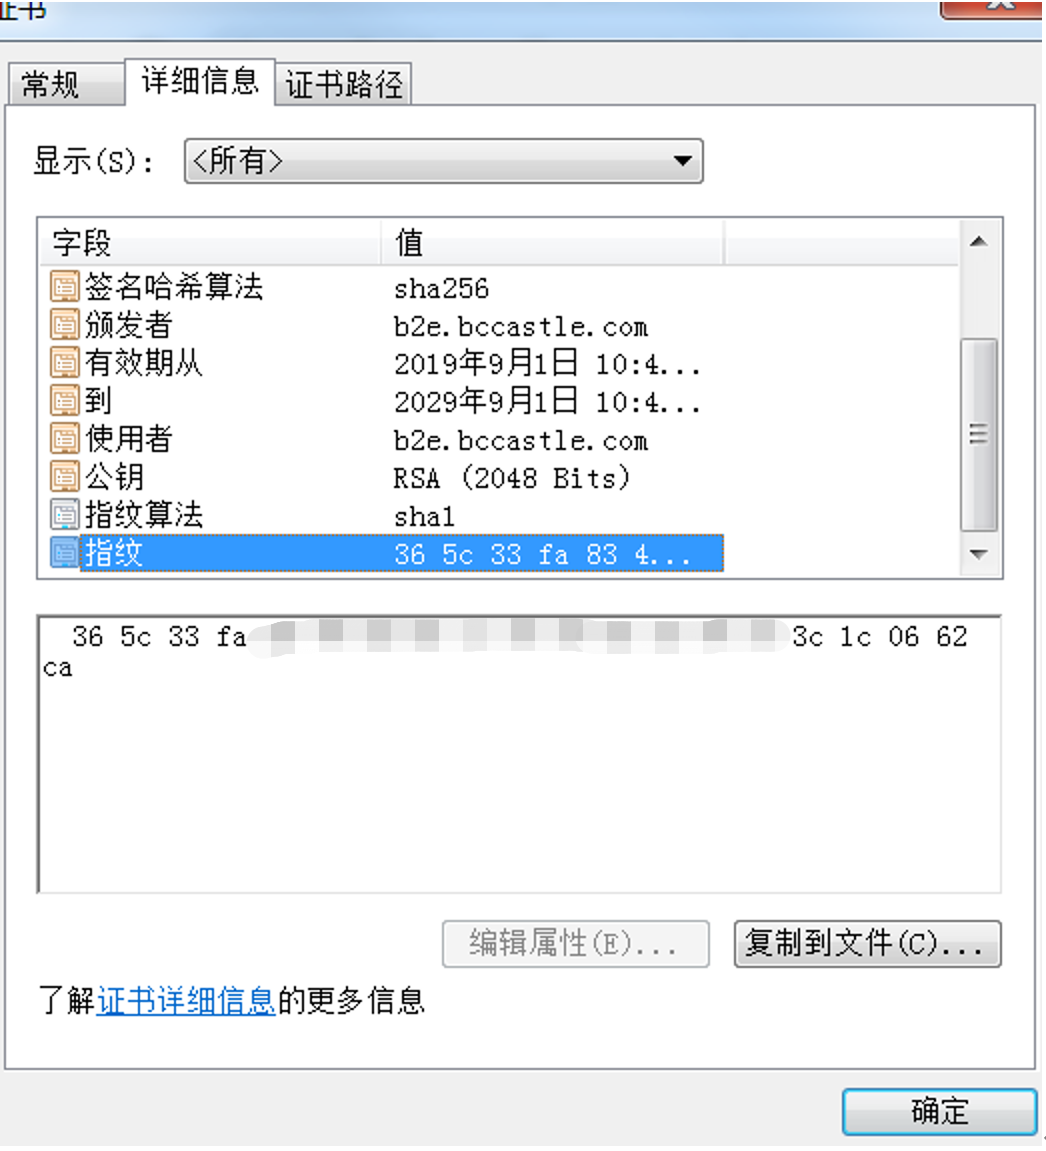
Methods to obtain IDP certificate fingerprint (choose one):
Copy the IDP certificate content from IDaaS Enterprise Center - 【Settings】- 【Service Configuration】- 【IDP Configuration】, save it as an idp.cer file, and view the certificate file.

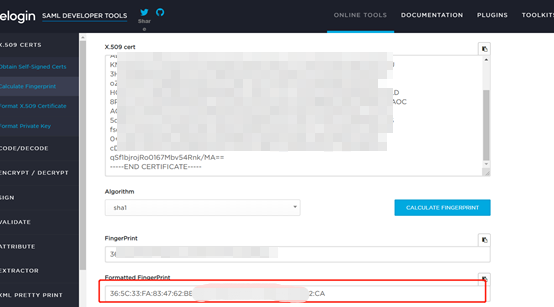
Copy the certificate content and calculate the certificate fingerprint using an online tool (opens new window).
 :::
:::
- After modifying the configuration, restart GitLab.
# Stop GitLab service
gitlab-ctl stop

# Refresh GitLab configuration
gitlab-ctl reconfigure

# Start GitLab service
gitlab-ctl start
2
3
4
5
6
7
8
# IDaaS Configuration
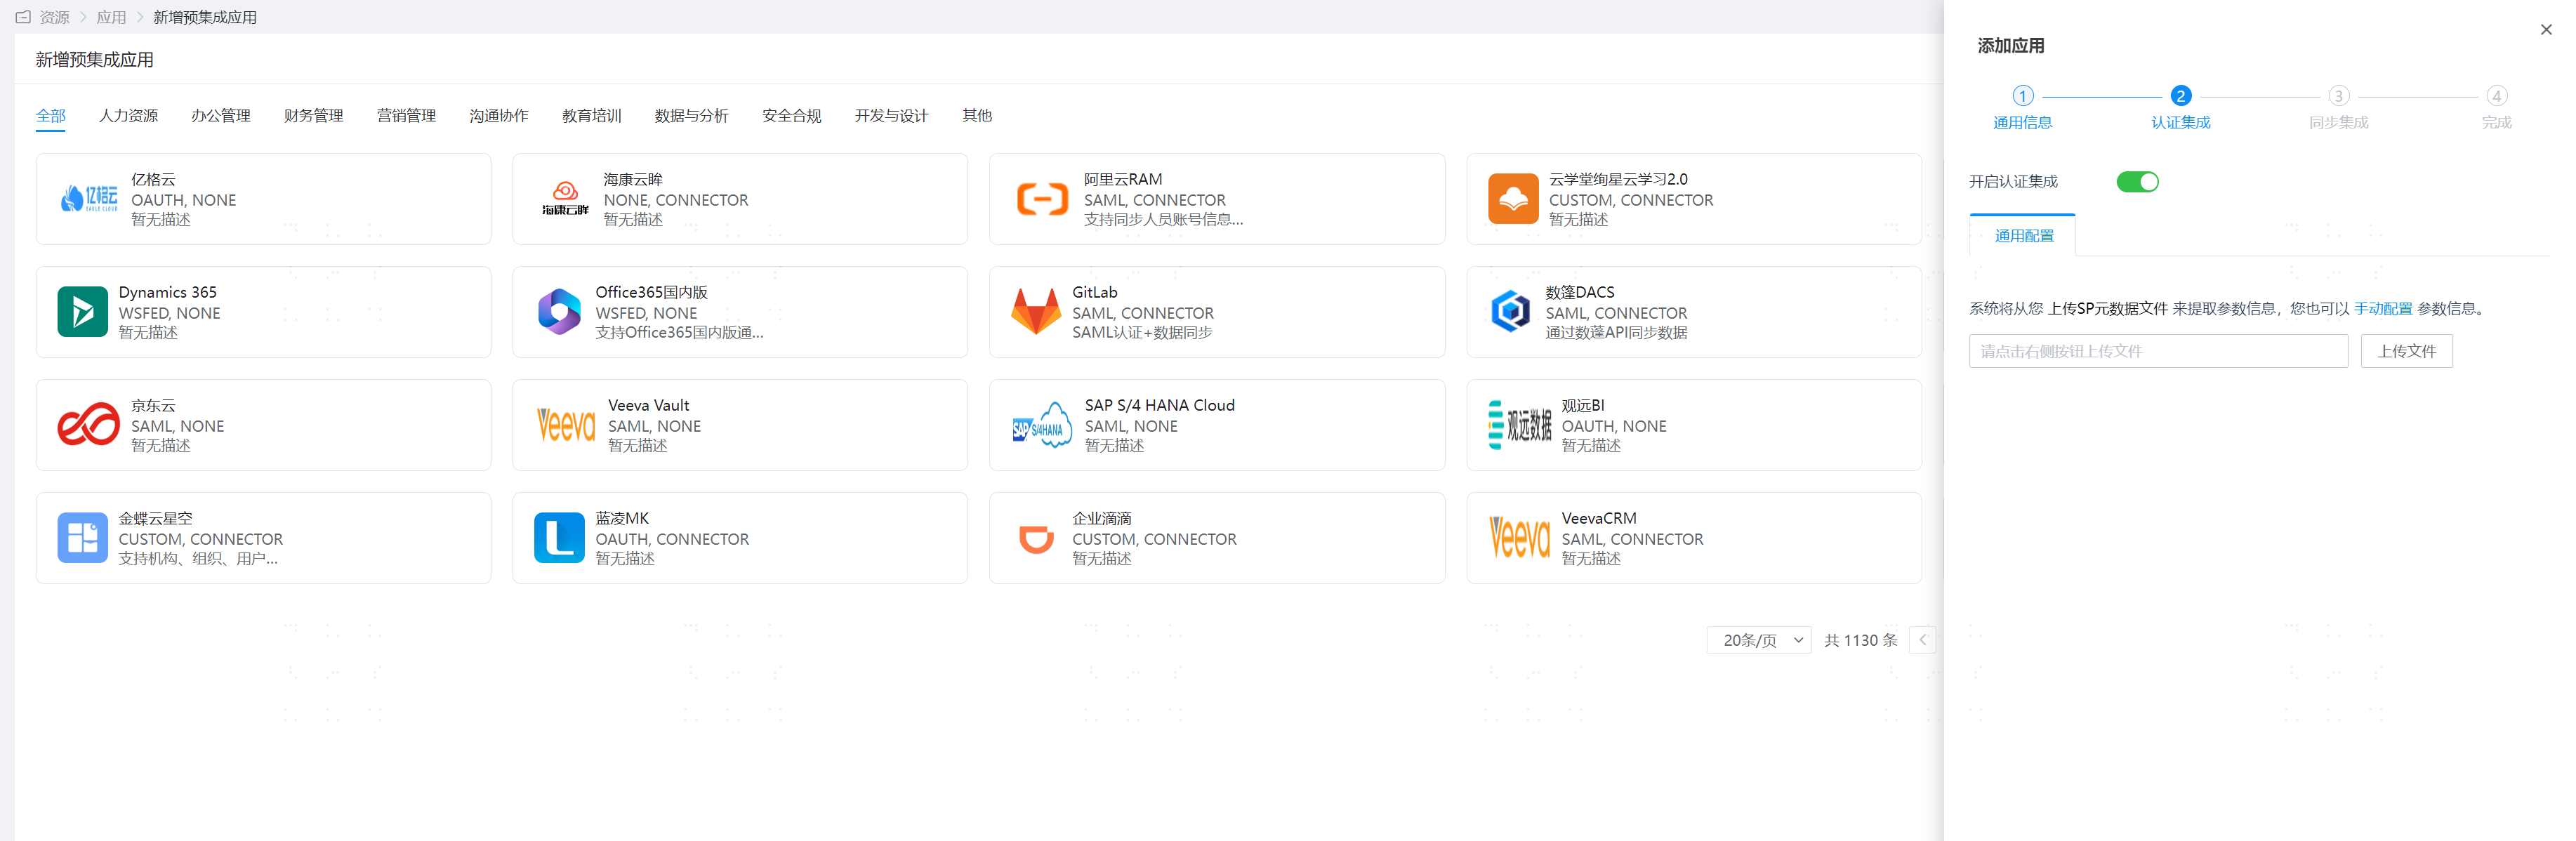
Log in to the Enterprise Center and add the GitLab pre-integrated application.

Configure authentication parameters. You can directly import the metadata file. The download address for the metadata file is the GitLab service address, for example https://{gitlab.example.com:8880}/users/auth/saml/metadata
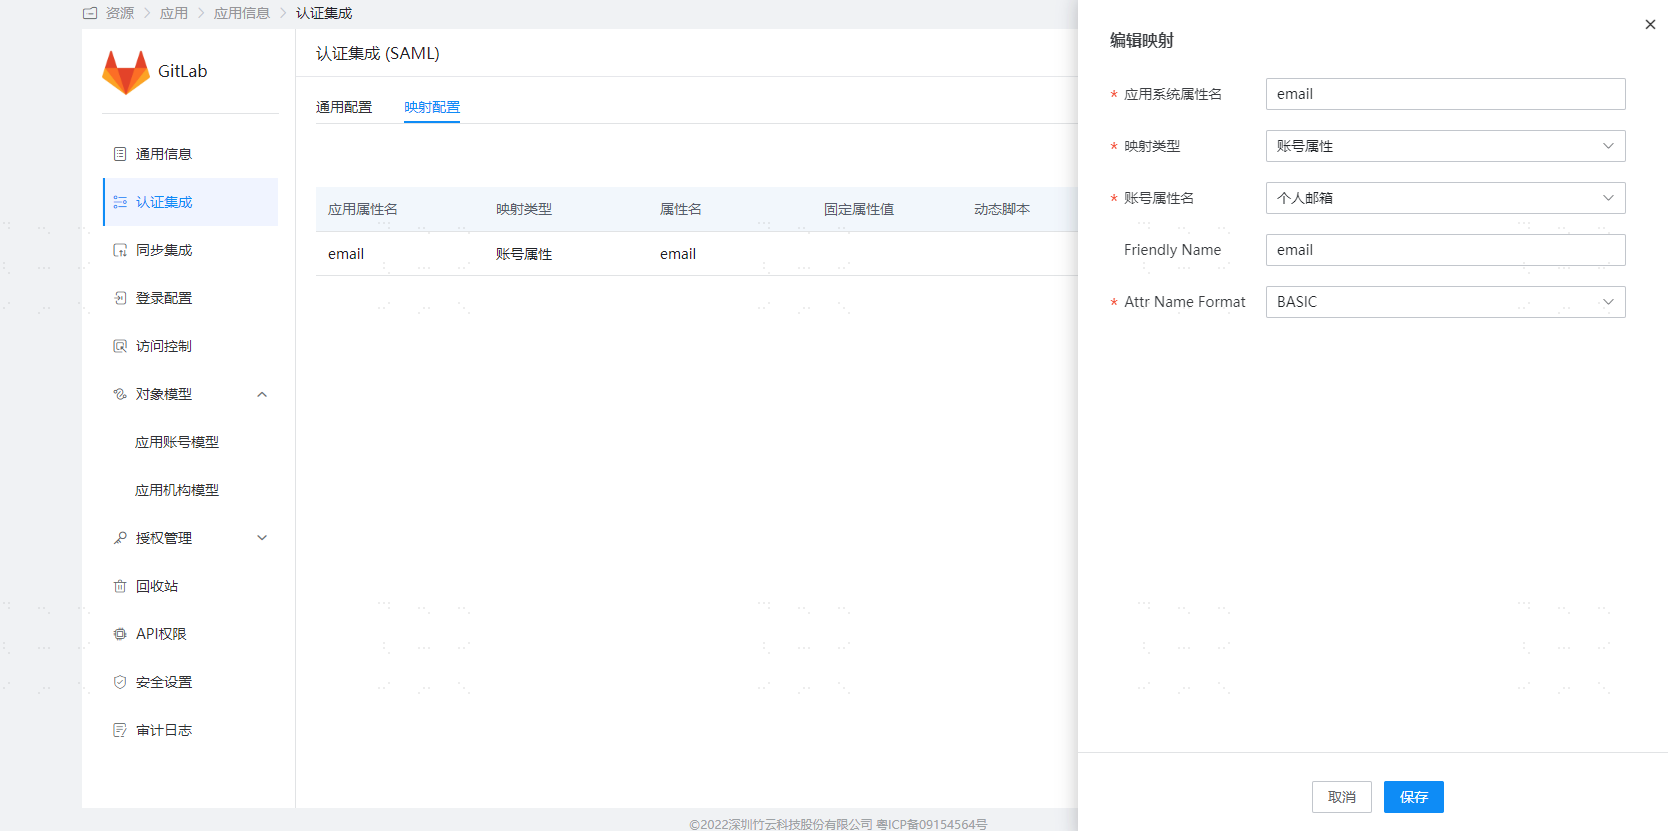
Enter the application details and configure authentication integration.

Parameter Description SP Entity ID The issuer parameter in the gitlab.rb file Assertion Consumer Service URL (ACS URL) assertion_consumer_service_url in the gitlab.rb file NameID Account name NameID Format name_identifier_format in the gitlab.rb file Audience URI The issuer parameter in the gitlab.rb file Configure attribute mapping and add the email attribute.
Go to Application Details - Authorization Management - Application Accounts, click the Add Account button, and select authorized users.
# Login Verification
After integrating GitLab with IDaaS, there are 2 access methods:
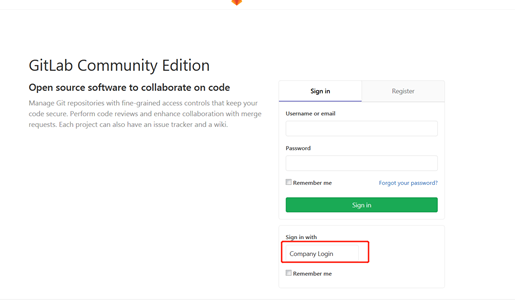
Initiated from the GitLab login page:
Users click the GitLab icon in the IDaaS User Center to log in: