JumpServer Single Sign-On
# Description
This document describes how to implement logging into JumpServer through IDaaS.
Currently, there are two methods: OIDC and CAS. Choose one.
# CAS Authentication
JumpServer Official CAS Documentation (opens new window)
# IDaaS Configuration
Add the pre-integrated application JumpServer CAS.

Configure the callback address: http://{JumpServer access address}/core/auth/cas/login/?next=%2F
Application logout address: JumpServer's CAS logout address, fill in http://{JumpServer service address}//core/auth/cas/logout/
User authorization: Authorization Management - Application Accounts - Add Account.
# JumpServer Configuration
Administrator logs into the console, navigates to 【System Settings】, selects 【Authentication Settings】-【CAS Authentication】.
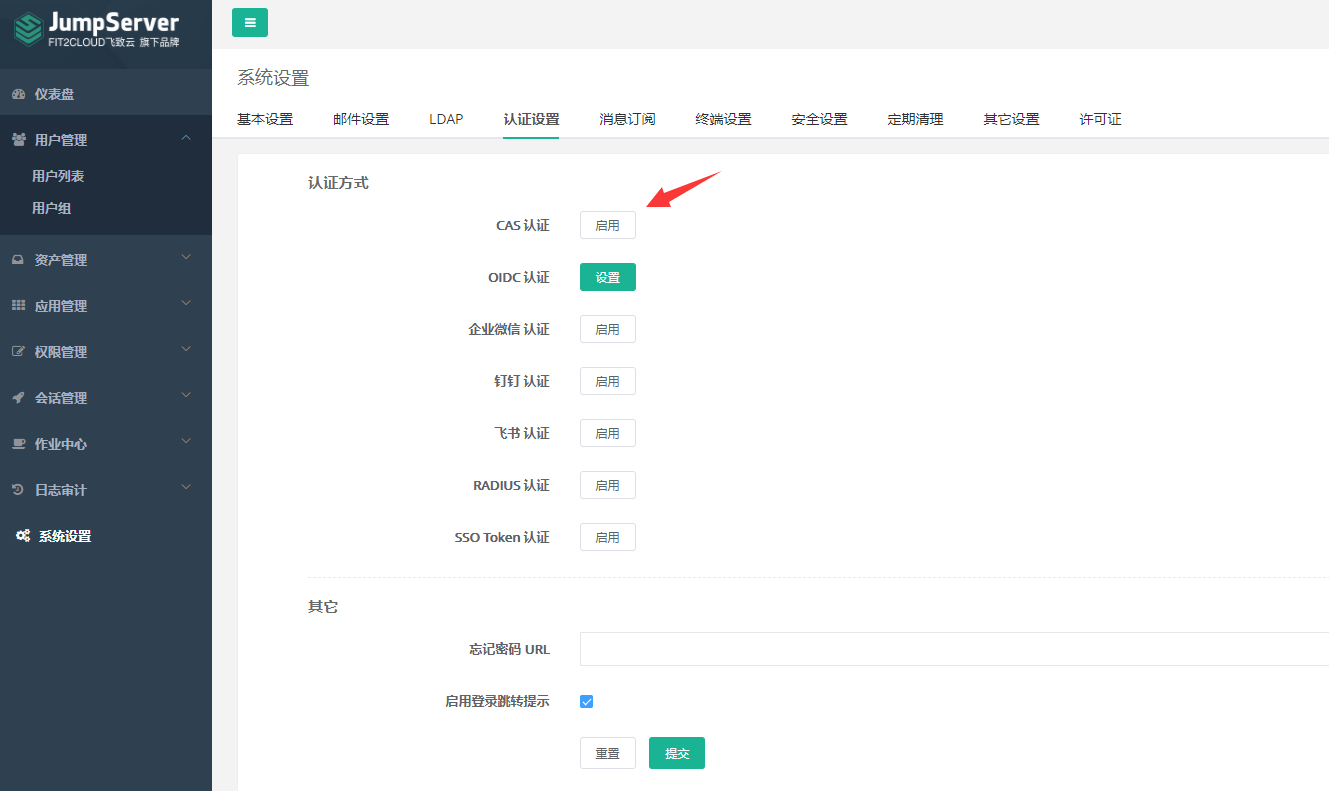
Configure parameters and submit.

Parameter Description Enable CAS Authentication Check to enable CAS authentication Server Address https://{IDaaS Tenant Domain}.bccastle.com/api/ams/cas/ Proxy Service Address JumpServer access address Version 3 Synchronized Logout Check to synchronize logout of IDaaS session when logging out of JumpServer Username Attribute Default uid Enable Attribute Mapping Check User Attribute Mapping Default {"uid":"username"} Create User (if not existing) Check
# Login Verification
Access the JumpServer address and select CAS authentication.
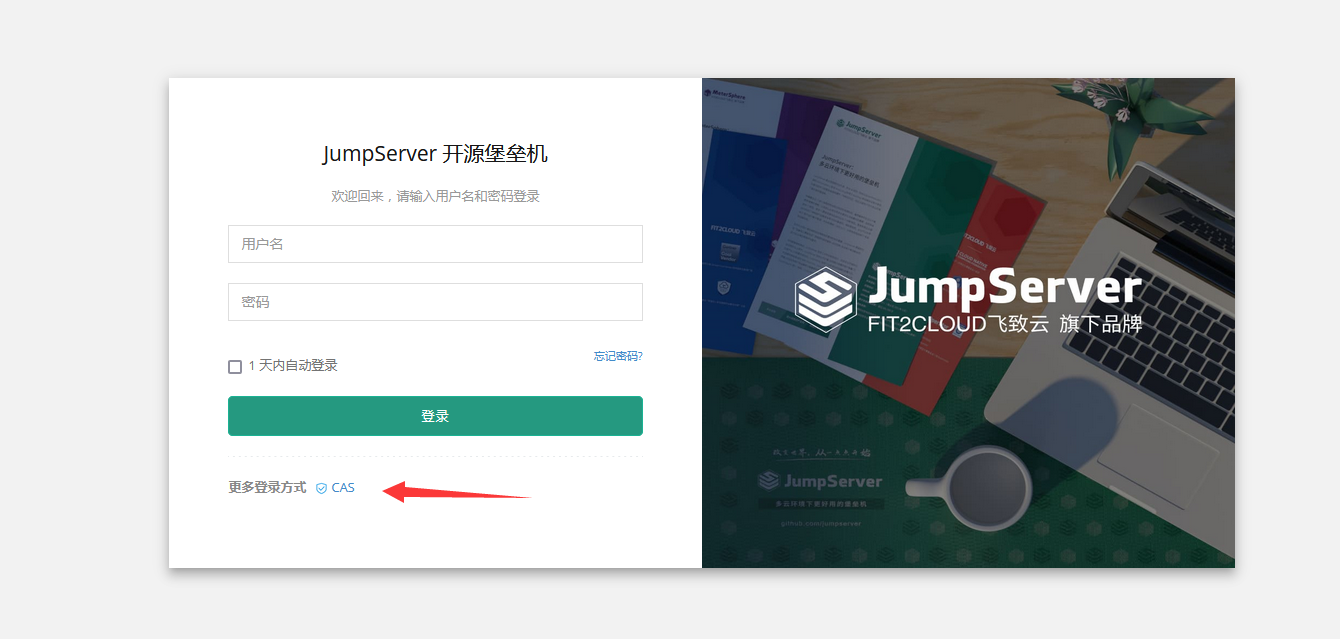
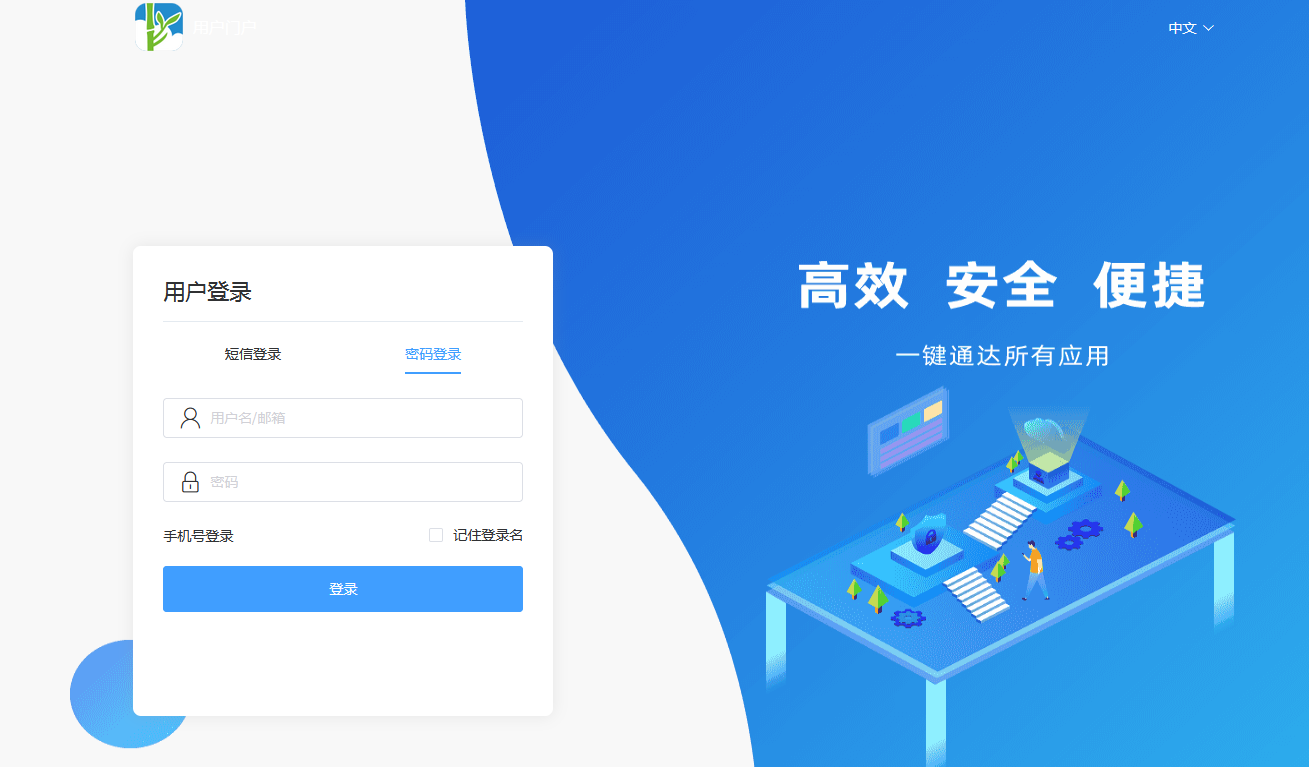
Redirect to the IDaaS authentication interface, authorize user authentication login.
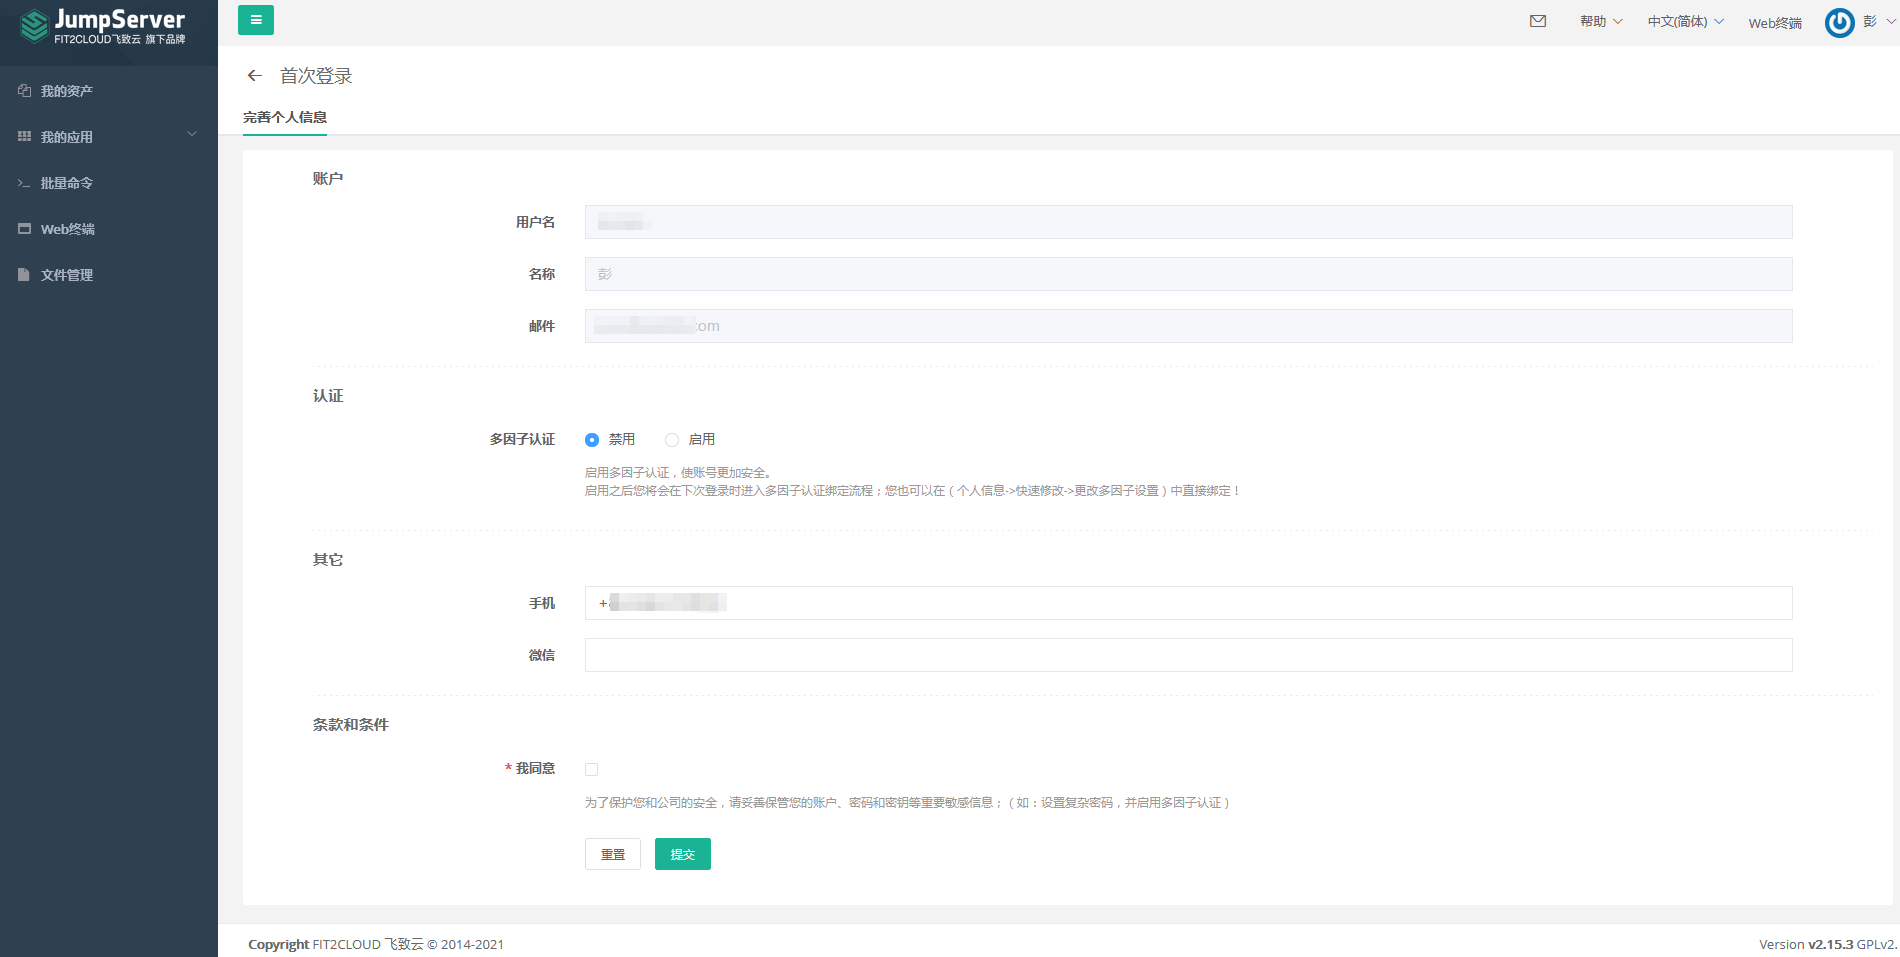
After successful authentication, enter JumpServer.
Administrator views users.

# OIDC Authentication
JumpServer Official OpenID Documentation (opens new window)
# IDaaS Configuration
Add the pre-integrated application JumpServer OIDC.
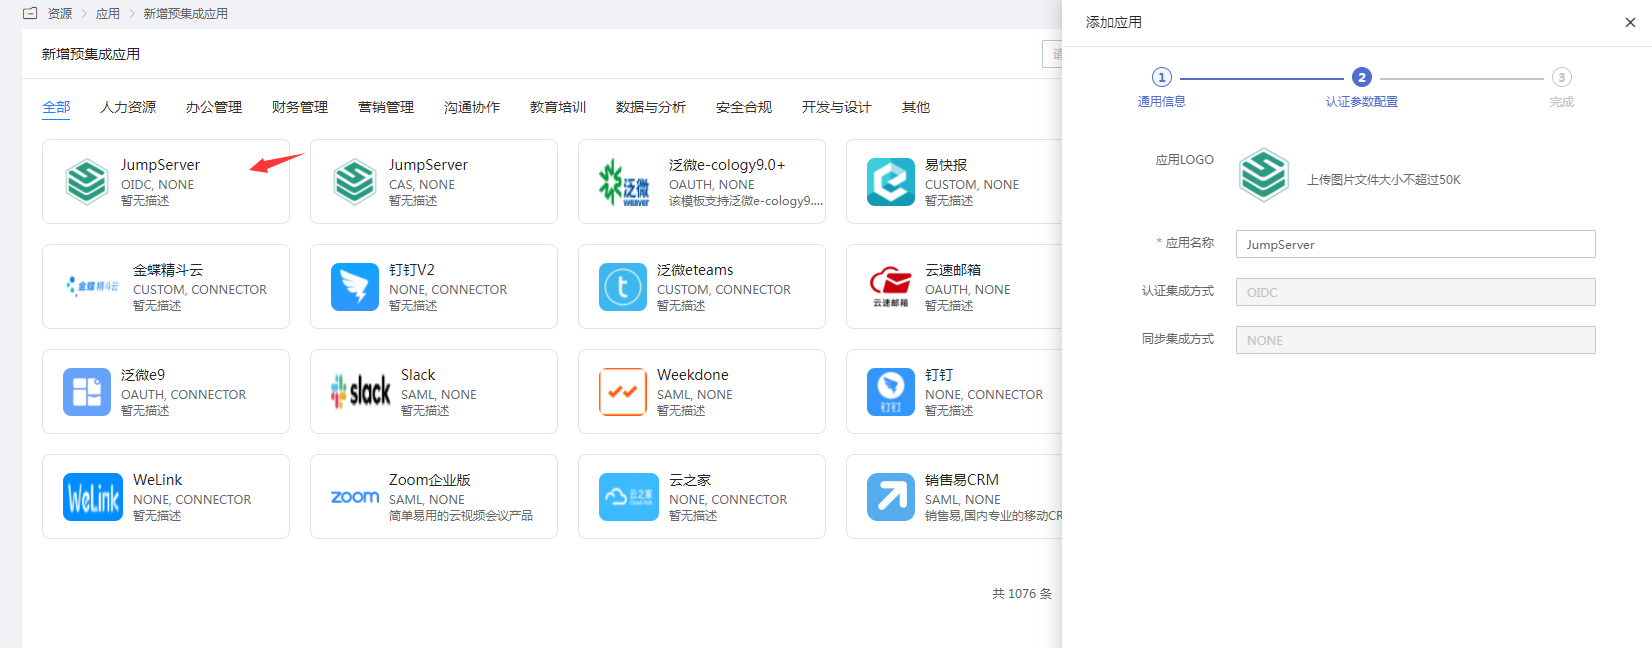
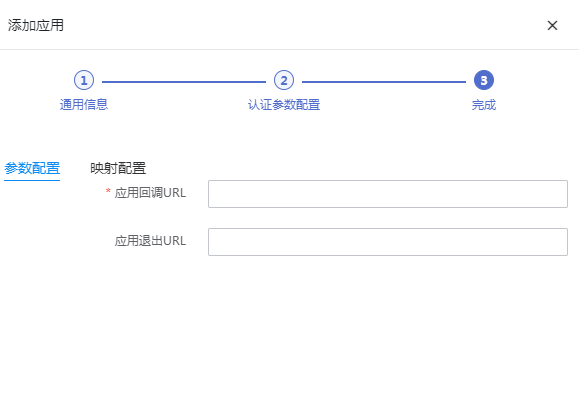
Configure the callback address.

Parameter Description Redirect URI Callback address, fill in http://{JumpServer service address}/core/auth/openid/callbackLogoutURL Fill in http://{JumpServer service address}/core/auth/openid/logout/Authorization Code Mode Enable Implicit Grant Mode Disable *TOKEN Signature Algorithm RS256 *Access Token Validity Default two hours *Refresh Token Validity Default 0 User authorization, go to Authorization Management - Application Accounts - Add Account.
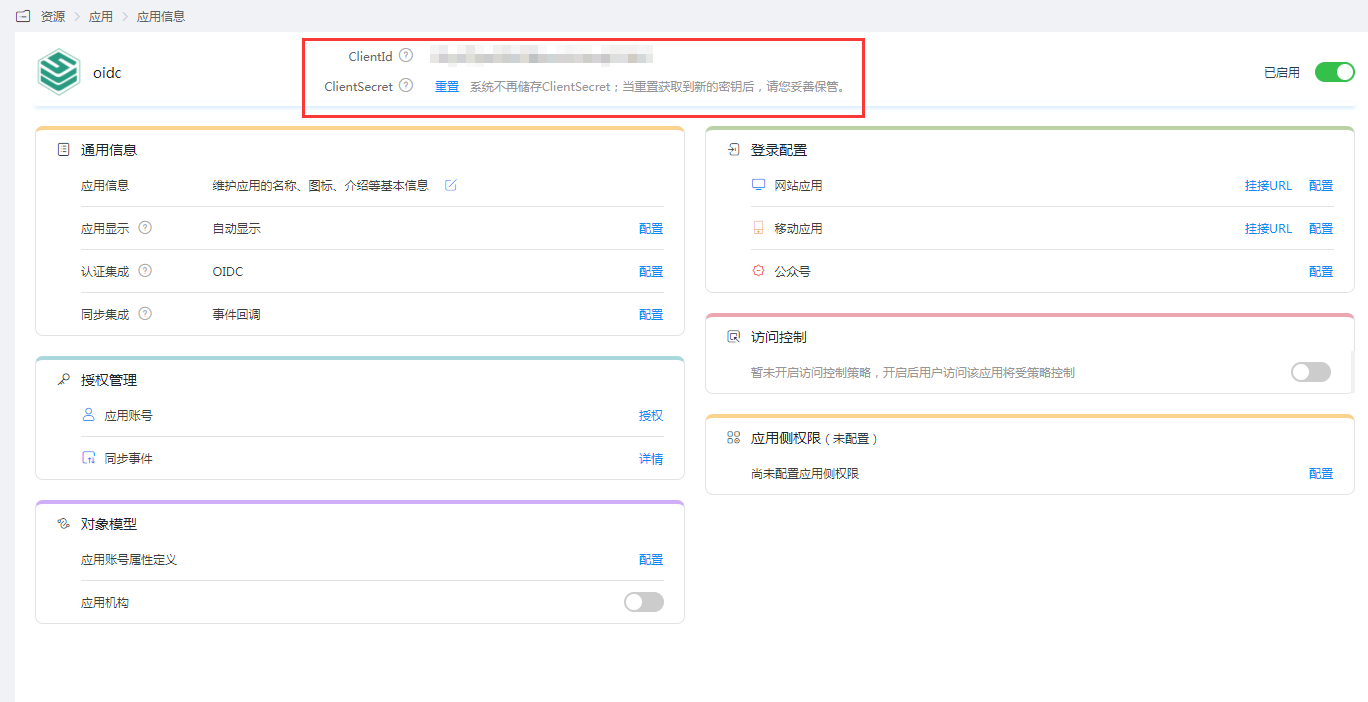
Enter the application details to obtain the clientId and ClientSecret.
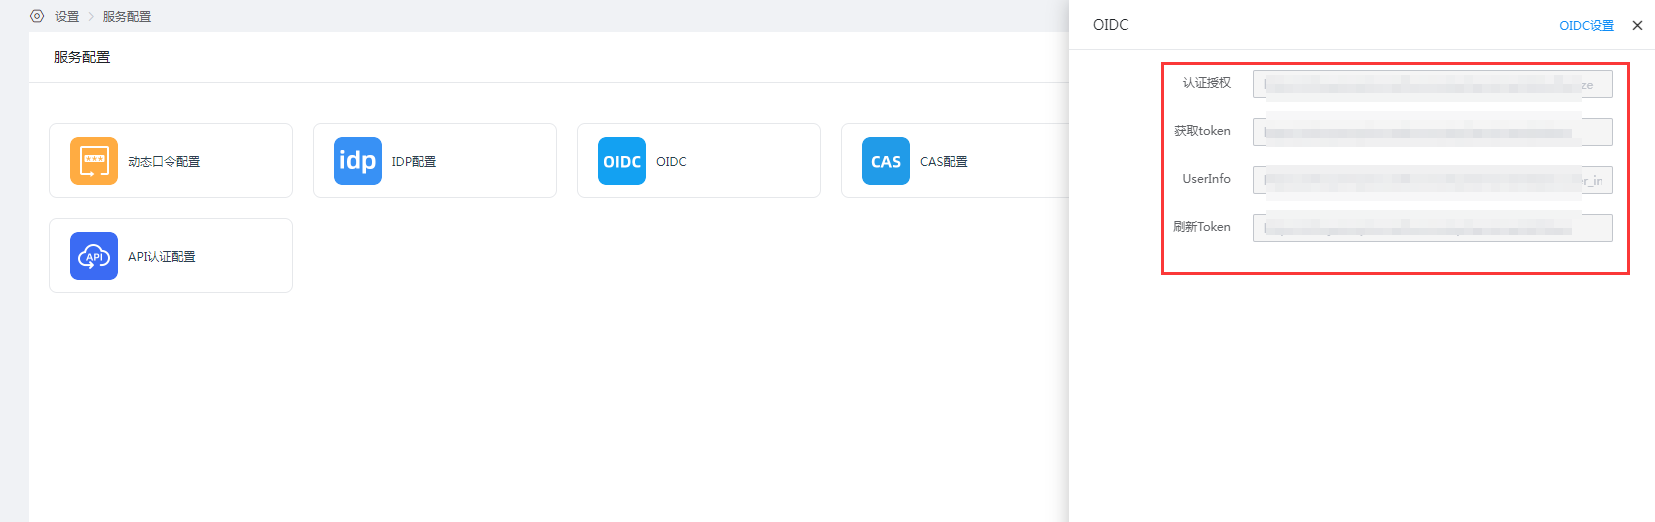
Go to 【Settings】-【Service Configuration】-【OIDC】 to view OIDC settings.
# JumpServer Configuration
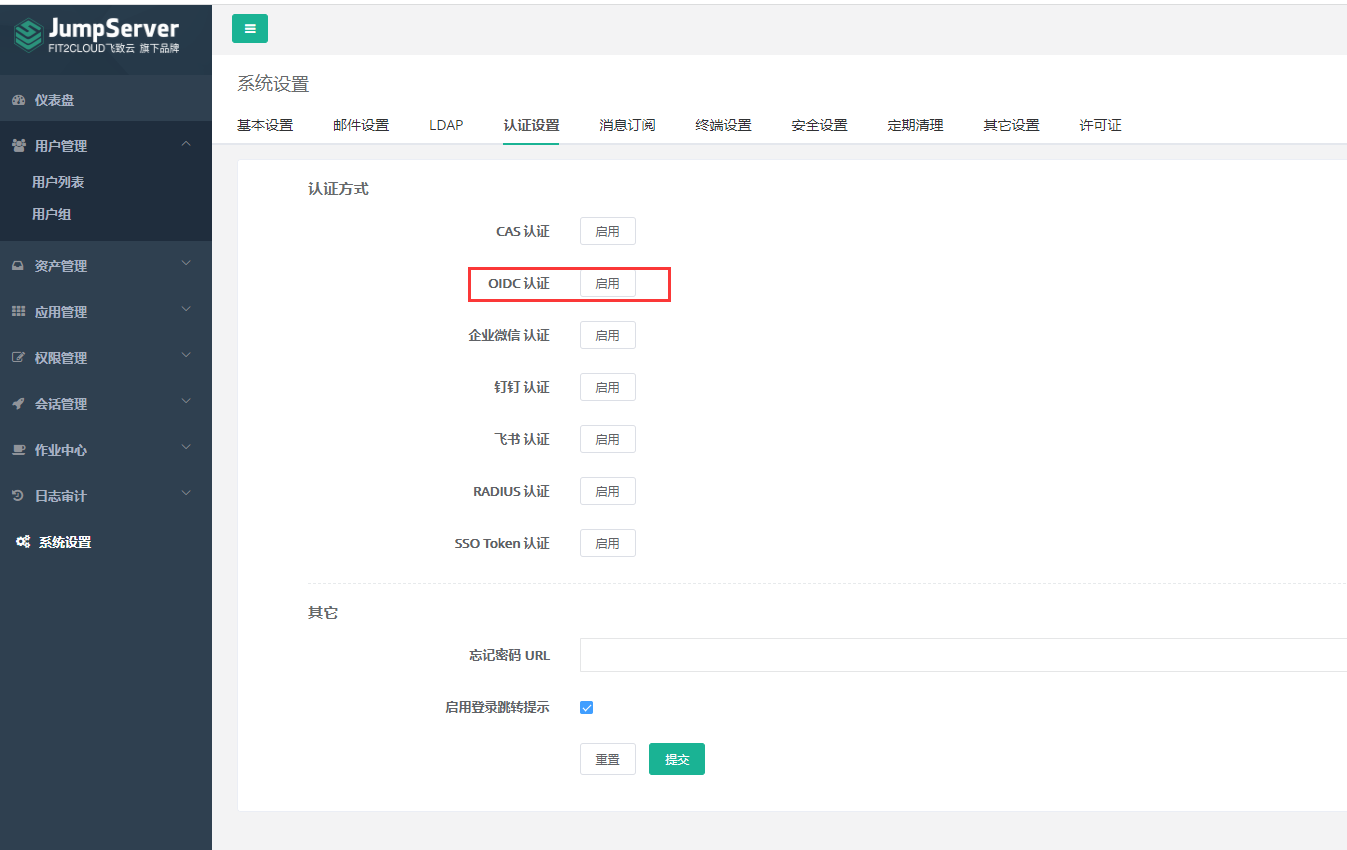
Administrator logs into the console, goes to 【System Settings】, selects 【Authentication Settings】-【OIDC Authentication】.
Configure parameters and submit.
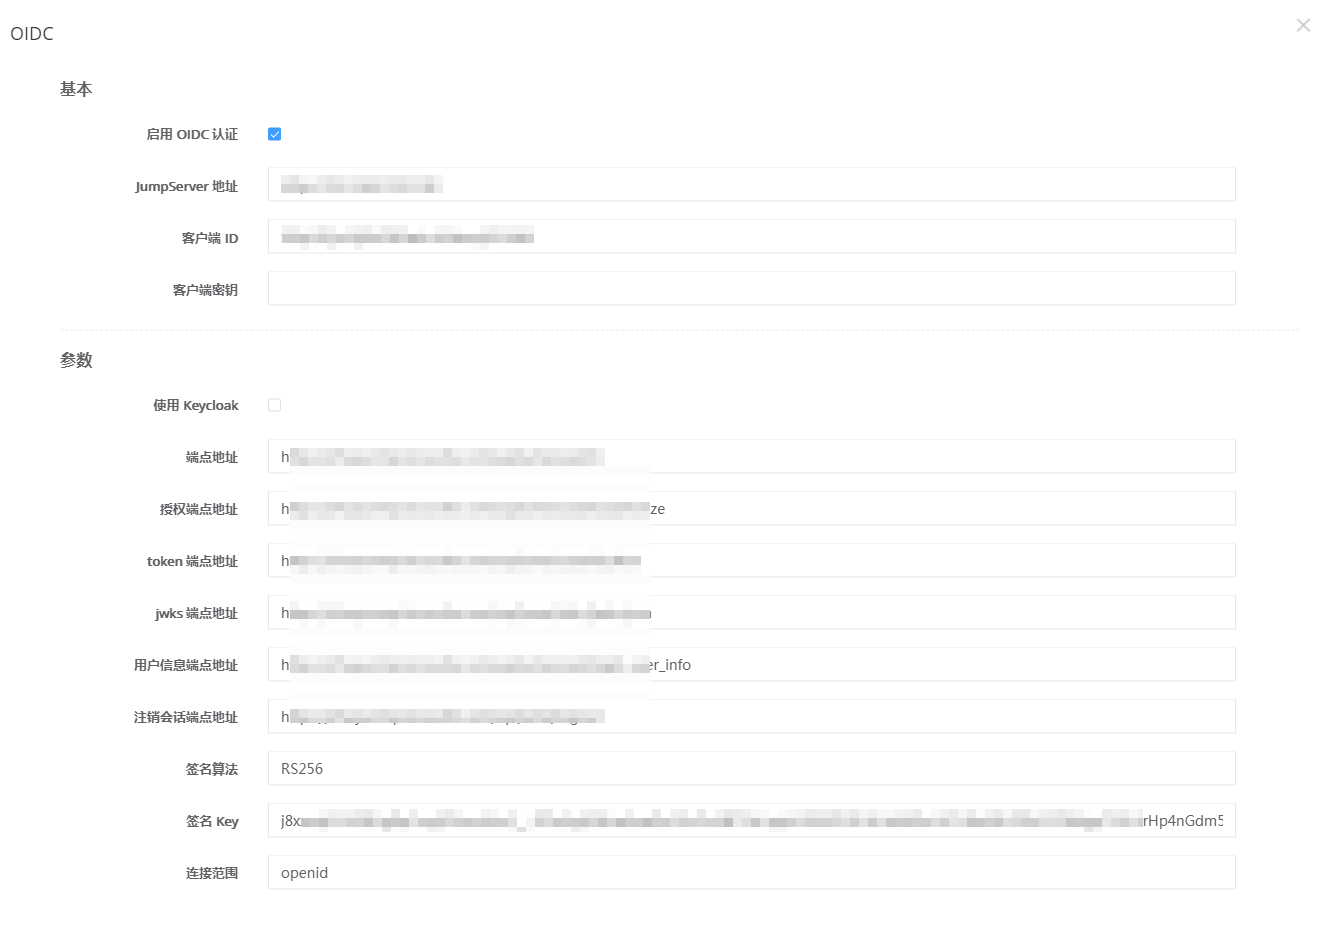
Parameter Description Enable OIDC Authentication Check JumpServer Address JumpServer access address Client ID IDaaS application clientId Client Secret IDaaS application clientSecret Use Keycloak Uncheck Endpoint Address https://{IDaaS tenant domain}.bccastle.com/api/v1/oauth2/Authorization Endpoint Address https://{IDaaS tenant domain}.bccastle.com/api/v1/oauth2/authorizeToken Endpoint Address https://{IDaaS tenant domain}.bccastle.com/api/v1/oauth2/tokenJWKS Endpoint Address https://{IDaaS tenant domain}.bccastle.com/api/v1/oauth2/keysUserInfo Endpoint Address https://{IDaaS tenant domain}.bccastle.com/api/v1/oauth2/userinfoLogout Session Endpoint Address https://{IDaaS tenant domain}.bccastle.com/api/v1/logoutSignature Algorithm RS256 Signature Key The key corresponding to the RS256 algorithm in https://{IDaaS tenant domain}.bccastle.com/api/v1/oauth2/keysConnection Scope openid Token Validity Time Default 60 Claims Checked by default Use Status Checked by default Temporary Use Checked by default Always Update User Information Checked by default Ignore SSL Certificate Verification Checked by default Shared Session Checked by default
# Login Verification
Visit the JumpServer address and select OIDC authentication.
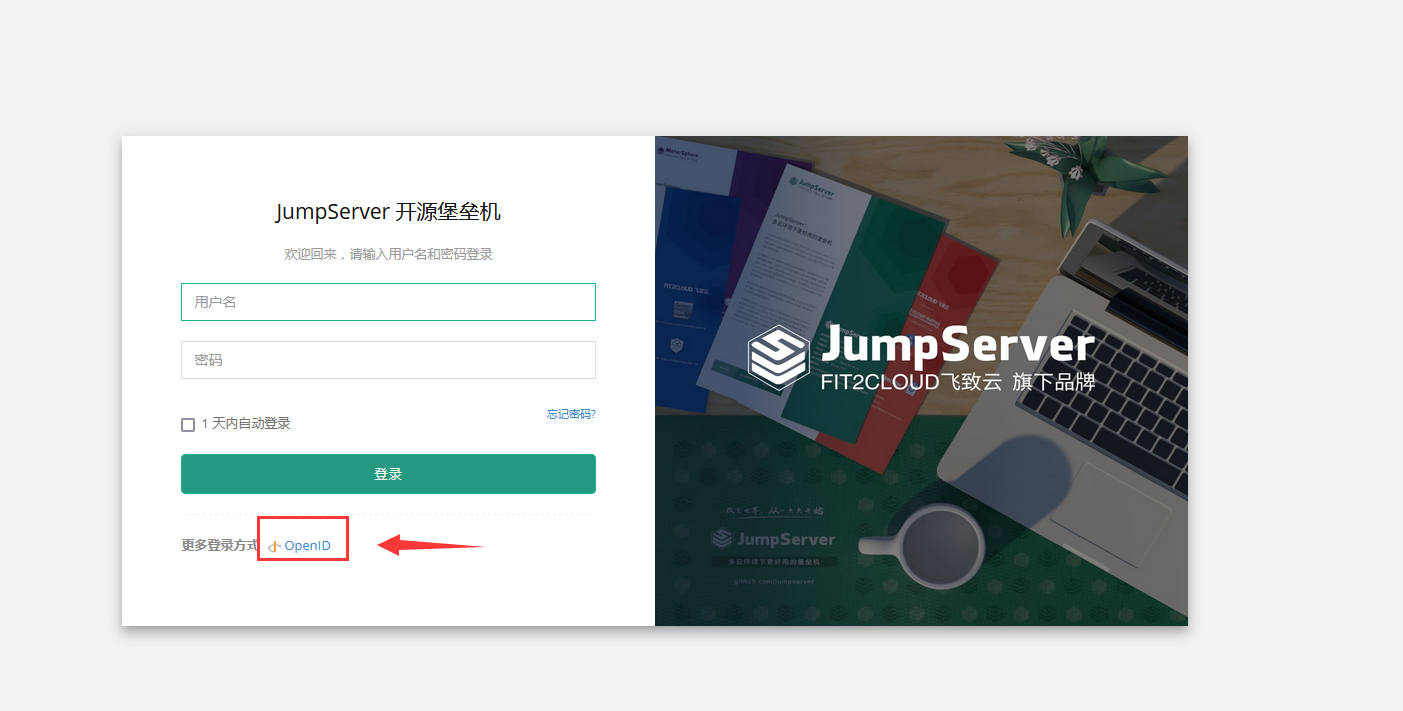
Redirect to the IDaaS authentication interface, authorize user authentication login.
After successful authentication, enter JumpServer.
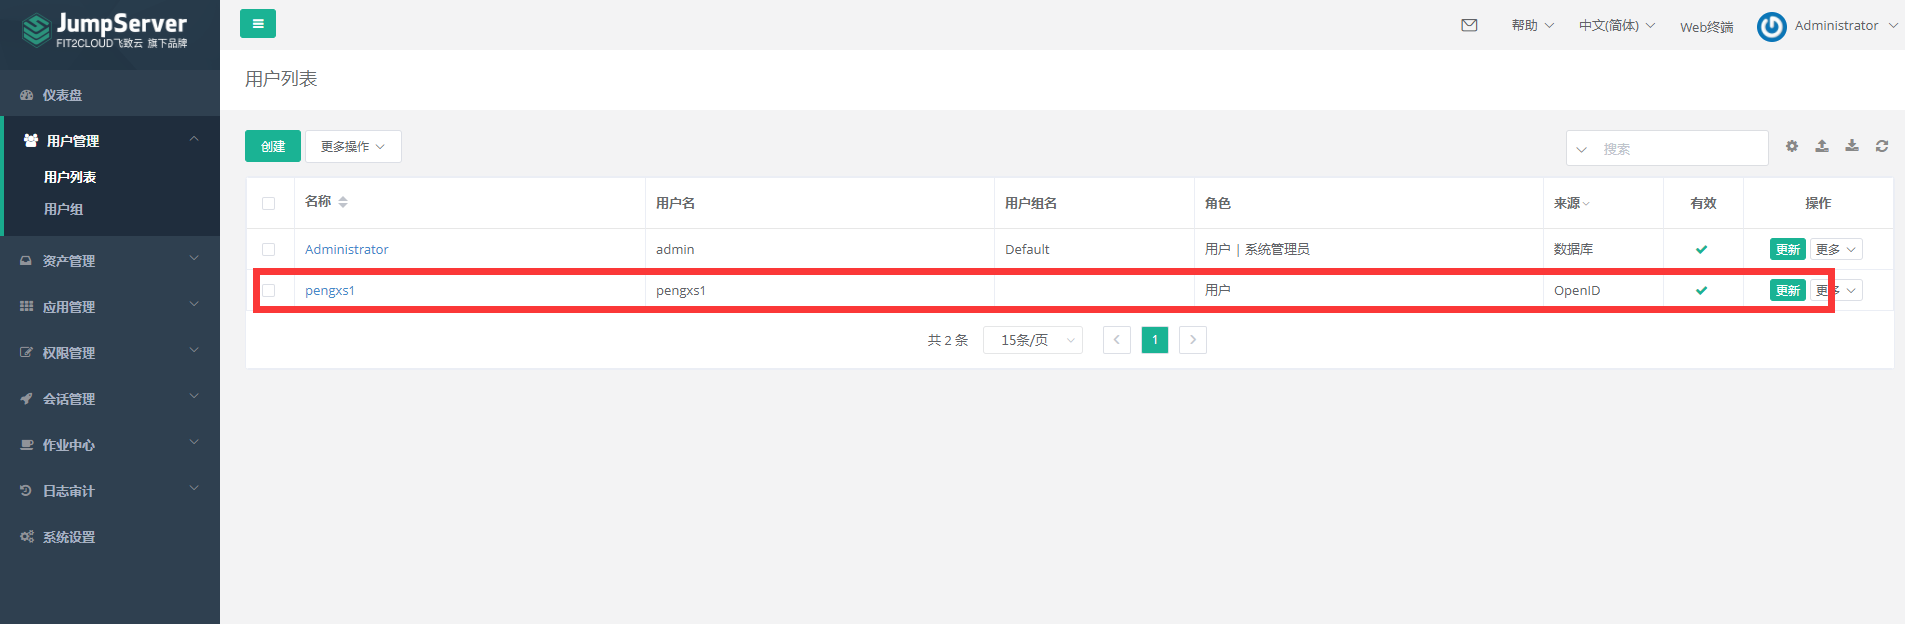
Administrator views users.
# Appendix
If accessing JumpServer by clicking the JumpServer logo in the IDaaS User Center, the following configuration is required.
# CAS
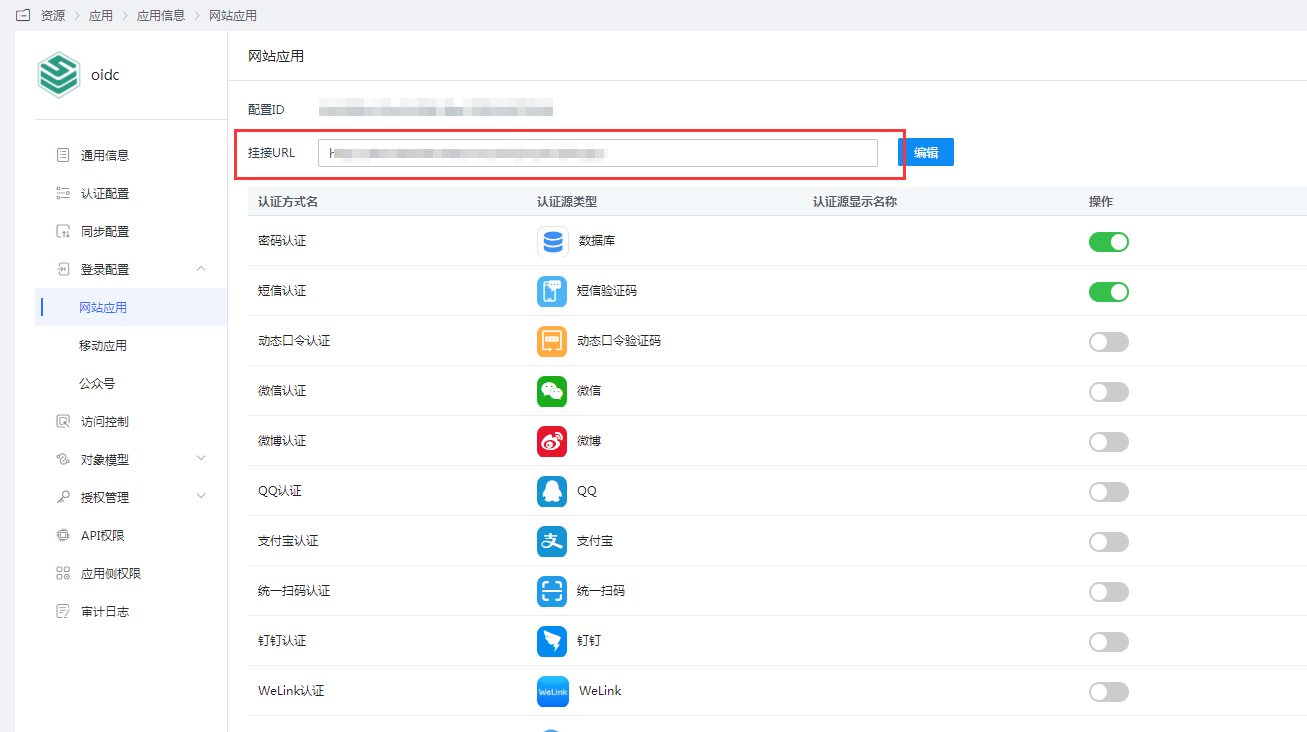
In the IDaaS Enterprise Center, go to the application details 【Login Configuration】-【Web Application】, modify the 【Mount URL】, copy the CAS address from the JumpServer login page, and paste it here.


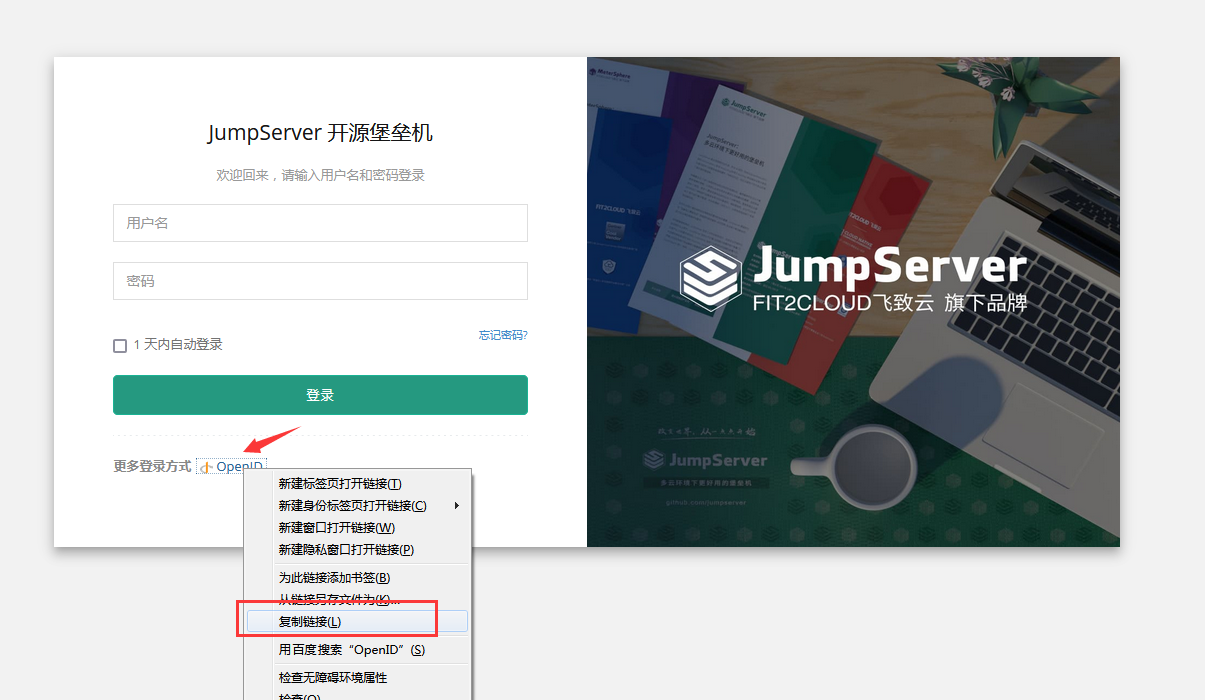
# OIDC
In the IDaaS Enterprise Center, go to the application details 【Login Configuration】-【Web Application】, modify the 【Mount URL】, copy the OpenID address from the JumpServer login page, and paste it here.